

How to Clean a Commercial Flat Top Griddle: Expert Tips & Tricks
Keeping your commercial flat top griddle clean isn't just a chore—it’s a core part of running a successful kitchen. The basic process is pretty simple: scrape, degrease, and wipe the surface down while it's still warm. For a quick daily clean, you just need a good scrape, a scrub with a non-abrasive pad and some water, and a final wipe. Finish with a light coat of oil, and you're ready for the next service.
Trust me, making this a regular habit is non-negotiable if you care about your food quality and the lifespan of your professional equipment.
Why a Clean Commercial Griddle Is Your Kitchen’s MVP
Think of your commercial flat top griddle as the unsung hero of your kitchen. When it's clean, it performs beautifully. But when it's neglected, it can bring a busy service to a grinding halt. It's not just about looks; a clean cooktop is fundamental to food safety, efficiency, and the taste of every single dish you send out.
When you let grease and carbonized food build up, you’re creating an uneven cooking surface full of hot and cold spots. That gunk doesn't just make your food taste burnt; it acts like an insulator, forcing the griddle to work harder and suck up more energy. A dirty griddle is an inefficient griddle, period.
This is especially true for workhorses like an Atosa commercial griddle, which is built for high-volume cooking. To get the most out of your investment and serve up consistently great food, a strict cleaning routine is a must. Most pros can knock out a cleaning cycle in just 3-5 minutes. Using the right products, you can lift that baked-on grease right off a hot surface (around 300-350°F) without dealing with the harsh fumes from caustic chemicals. This makes the job safer and way faster for your staff. You can find some great fast-cleaning tips and products over at 3M.com.
A well-maintained griddle is a reliable griddle. Consistent cleaning prevents dangerous grease accumulation, ensures predictable cooking temperatures, and ultimately produces higher-quality food that keeps customers coming back.
The End-of-Day Griddle Cleaning Routine
If there's one non-negotiable task in a commercial kitchen, it's the end-of-day griddle clean. This isn't just about looking good; it's about the longevity of your equipment and the quality of your food. Skipping this ritual is a fast track to stubborn carbon buildup and a griddle that just doesn't perform.
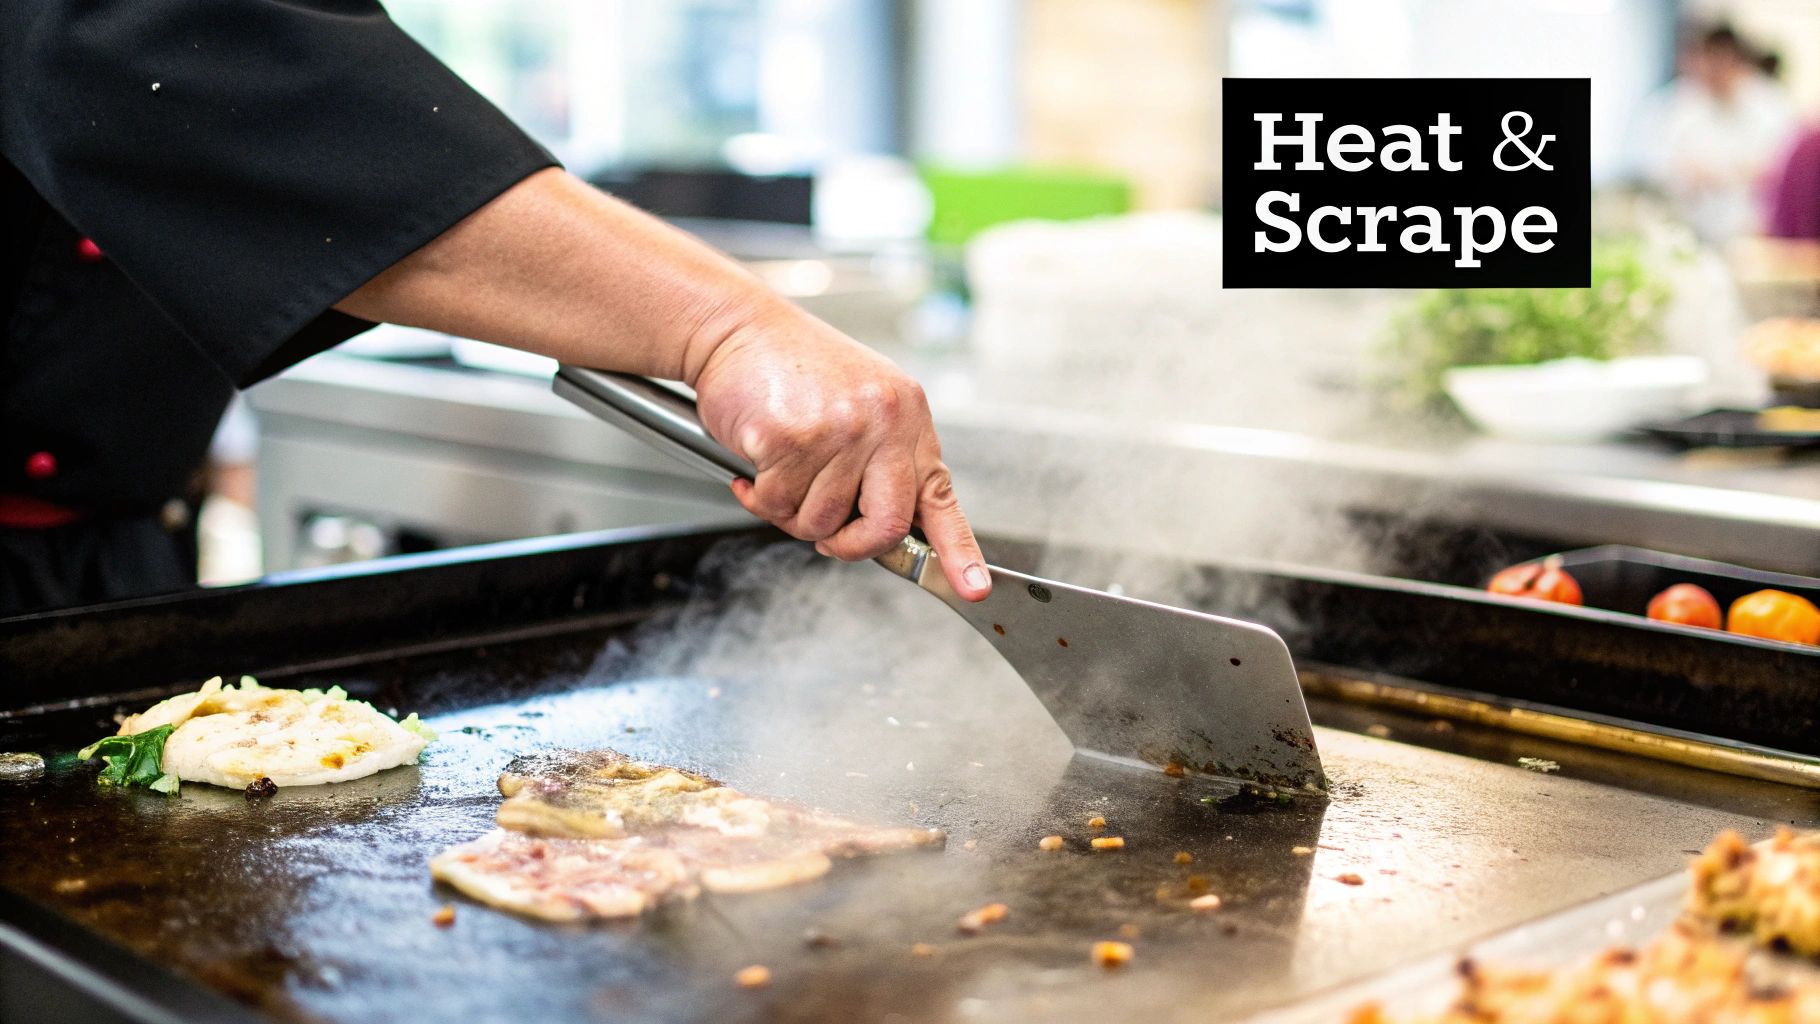
The magic moment to start is right after you've turned the griddle off, while it's still warm. This is your window of opportunity before grease and food debris harden into a concrete-like crust. Grab a long-handled scraper with a sharp, straight edge and push all that loose gunk into the grease trap. I find it’s best to work methodically from back to front, making sure you get the entire surface.
Initial Scrape and Degrease
Once the big stuff is out of the way, you’re left with that greasy film. Time to tackle it.
Carefully pour a little warm water or a food-safe commercial griddle cleaner onto the warm surface. You'll hear that satisfying sizzle as the steam immediately starts lifting the stuck-on grease. This process, often called deglazing, does most of the heavy lifting for you.
Use your scraper again, or switch to a non-abrasive scrubbing pad on a long handle. Work the liquid across the surface, dislodging any stubborn food particles. Pay close attention to the corners and edges—that's where grime loves to hide.
For those ridiculously tough spots that just won't budge, a griddle brick is your best friend. These pumice-like blocks are designed specifically to scour the steel surface without leaving deep scratches. Just apply some firm, even pressure and work in small sections until the carbonized crud breaks loose.
This simple infographic breaks down the core steps for a quick daily clean.
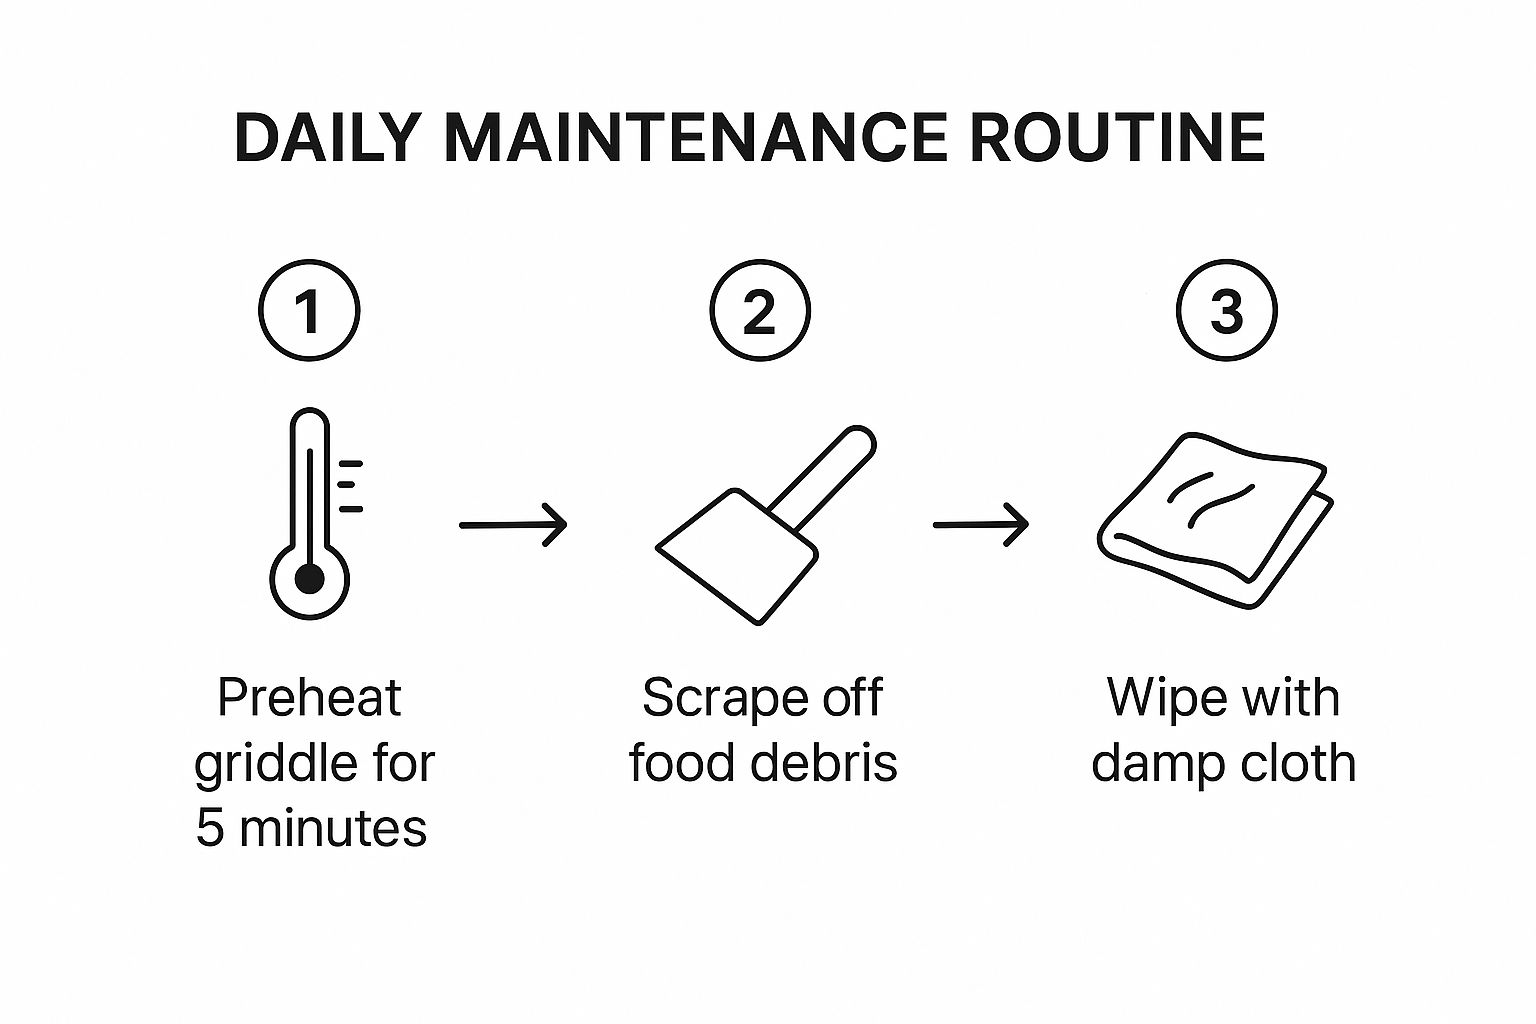
As you can see, a few consistent actions—heating, scraping, and wiping—are the foundation of solid griddle care.
The Final Wipe and Grease Trap Management
After scrubbing, squeegee all the dirty water and gunk into the grease trap. Now for the final wipe-down.
Using clean, damp cloths or some heavy-duty paper towels, wipe the entire surface until it’s spotless and free of any cleaning solution. This might take a couple of passes, but it's worth it.
Next, you have to deal with the grease trap. This is a critical safety step. A full trap is a serious fire hazard and the source of some truly nasty smells. Carefully remove it—remember, it's hot and full of hot liquid, so always use heat-resistant gloves. Dispose of the grease according to your local health and safety codes. Whatever you do, never pour it down the drain.
Properly cleaning your griddle is crucial for hygiene, as grease buildup can harbor bacteria. Many experts suggest a sequence of cooling, scraping, and cleaning the grease container after every single use to prevent dangerous grease fires. For more tips, you can find some great griddle cleaning advice on other expert sites.
Pro Tip: Once you've emptied the grease trap, give it a good wash with hot, soapy water. Dry it completely before putting it back. This little step prevents bacteria from growing and keeps your kitchen smelling fresh.
Finally, to protect all your hard work and get ready for tomorrow's service, apply a very thin layer of cooking oil to the clean, dry surface. This light seasoning acts as a protective barrier, much like on a quality Atosa griddle, preventing rust and keeping the surface beautifully non-stick.
Your Weekly Deep Clean and Re-Seasoning Guide
A daily wipe-down is great for keeping things tidy, but the weekly deep clean is where you bring your commercial griddle back to life. This is your chance to get rid of that stubborn, cooked-on grease and carbon that a quick scrape just won't touch. Think of it less as cleaning and more as a full restoration for your cooking surface.
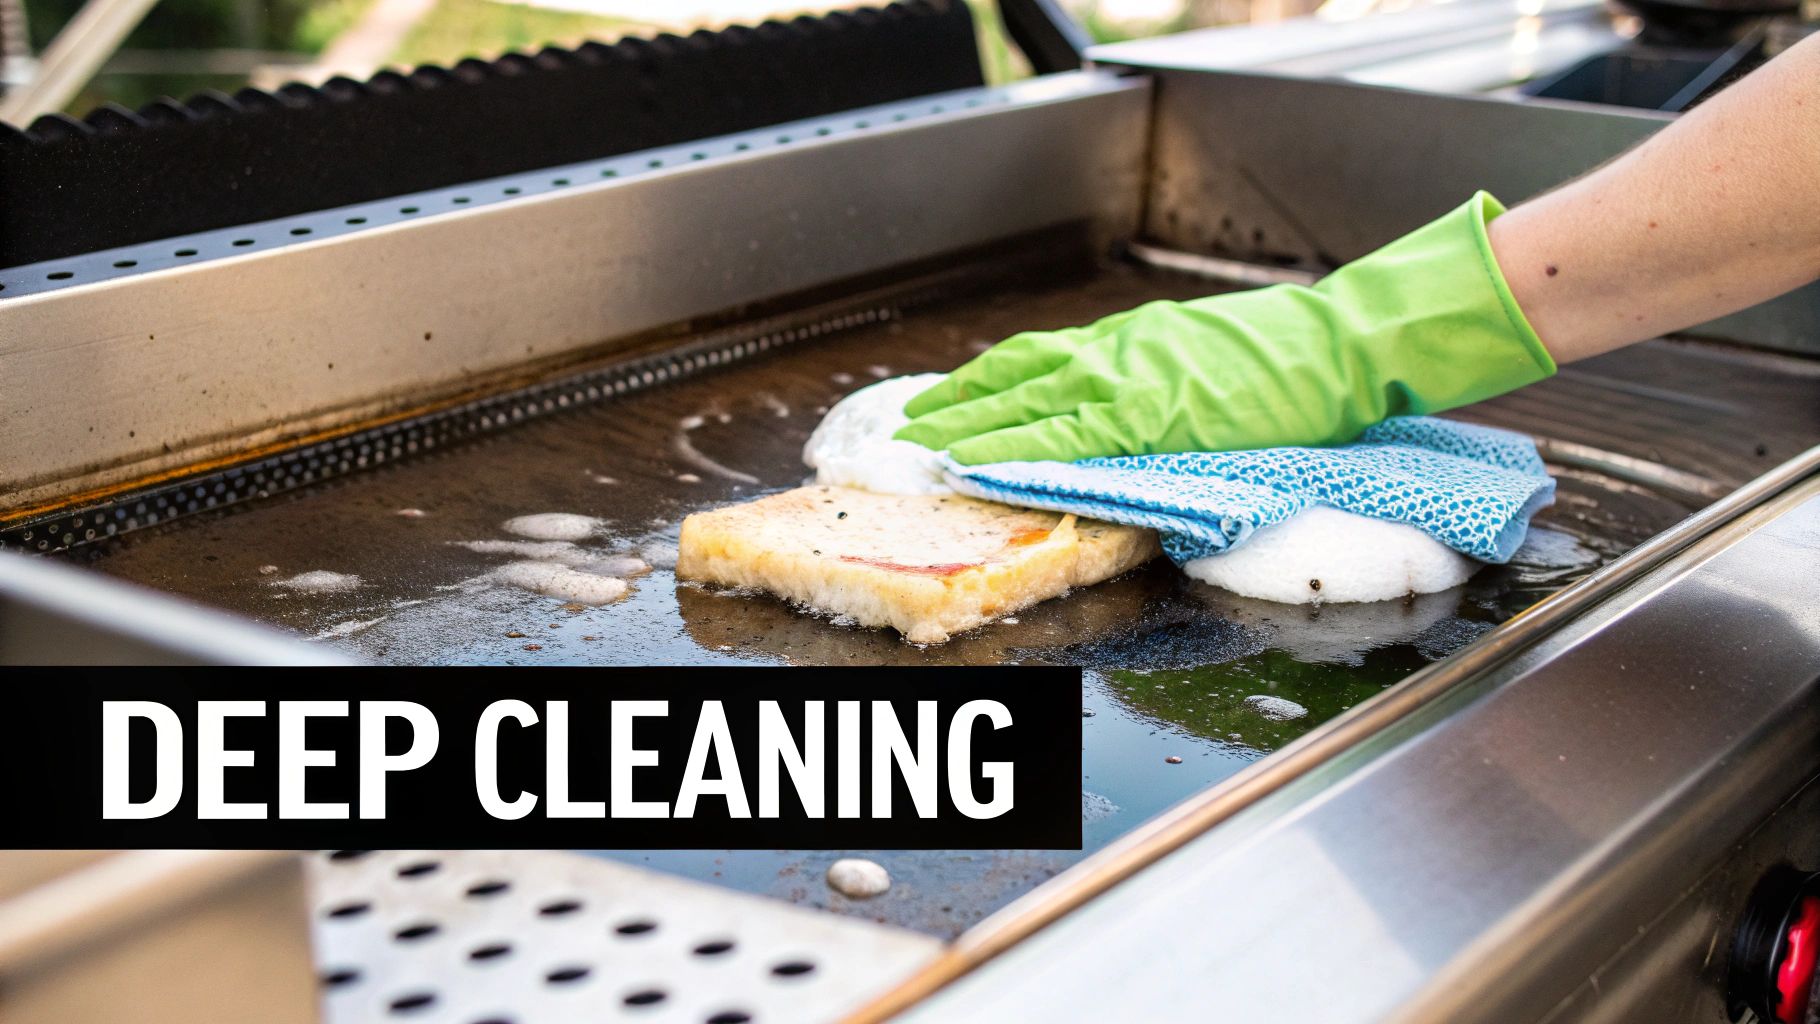
By combining heat and some good old-fashioned elbow grease, you can strip away that deep-seated grime and get back to a pristine cooking surface.
Tackling Tough Buildup with Degreasers and Thermal Shock
For this job, you'll want to start with a cool or maybe slightly warm griddle—not a hot one. Working cool lets a good commercial degreaser do its job without instantly evaporating or filling your kitchen with fumes. Just apply a food-safe degreaser and give it a few minutes to sink in and break down the grime.
Once the degreaser has had time to work, grab a griddle brick or a screen with a pad and start scrubbing. This is what gives you the abrasive power to lift those tough carbon spots without gouging the steel.
Now, here's a pro tip: use thermal shock. While the griddle is still hot (around 300-350°F), carefully put some ice cubes on the really stubborn areas. The sudden drop in temperature makes the grease seize up and pull away from the steel, making it incredibly easy to scrape right off.
Many chefs I know swear by this trick over pouring water. Ice gives you more control, creates less steam (which can burn!), and channels the melted gunk straight into the drain trap. You can see how the pros do it in videos that show how to clean your flat top griddle with ice.
Safety First: Always wear heavy-duty, heat-resistant gloves when you're working with a hot surface and degreasers. And make sure your ventilation is running—that's non-negotiable for keeping your kitchen staff safe.
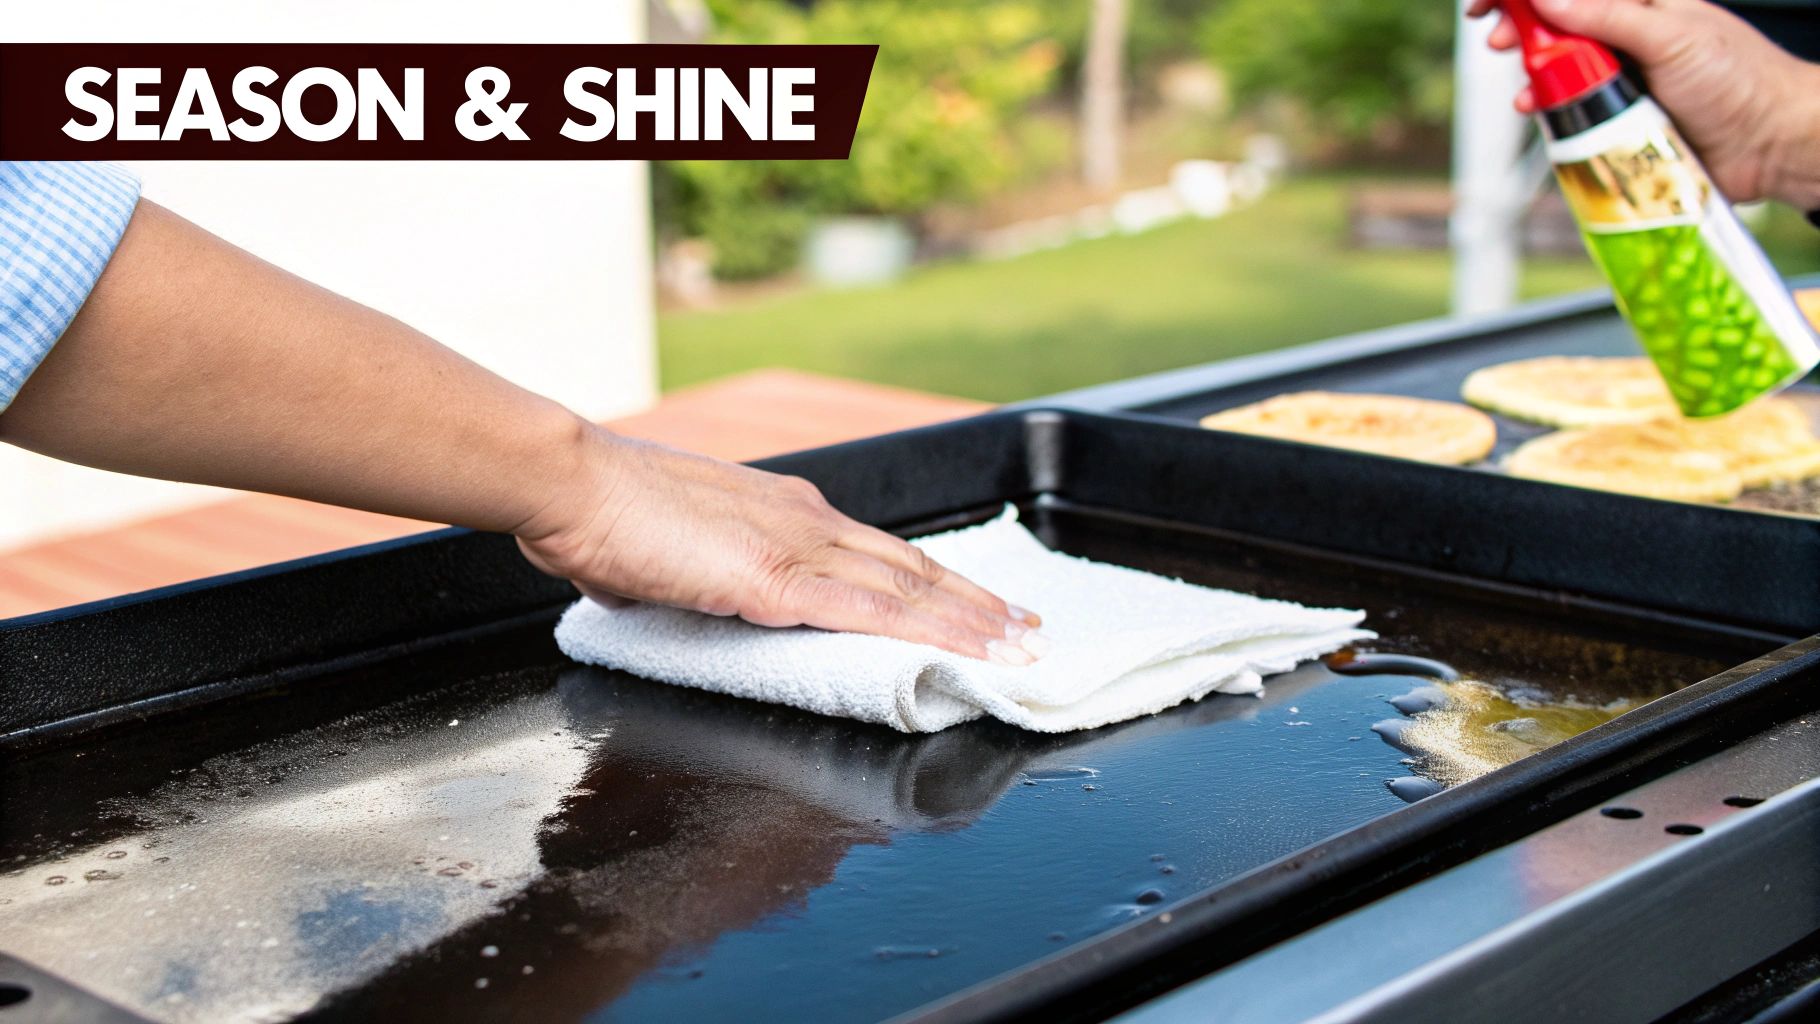
The Art of Re-Seasoning Your Griddle
After you've stripped the griddle down to the bare metal, the last step is the most important: re-seasoning. This does more than just create a non-stick surface; it protects your investment. A solid layer of seasoning is a barrier against rust and corrosion, which is crucial for a workhorse like an Atosa griddle.
Here’s how you build that perfect, protective layer back up:
- Dry it completely. Fire up the griddle on low for a few minutes to make sure every last bit of moisture is gone.
- Apply a thin layer of oil. You'll want an oil with a high smoke point. Canola, grapeseed, or flaxseed oils work great because they create a really durable, polymerized finish.
- Spread it evenly. Use a clean, lint-free cloth (or paper towels held with tongs) to wipe a very thin coat of oil across the entire surface. If you use too much, you'll end up with a sticky, gummy disaster.
- Heat it to the smoke point. Crank the heat until you see the oil start to smoke. That's the magic happening—the oil is polymerizing and bonding directly to the steel.
- Cool and repeat. Let the griddle cool down a bit, then do it again. And maybe one more time. Each layer builds on the last, giving you that dark, tough, and perfectly non-stick surface you're after.
This process is absolutely fundamental. For an even more detailed breakdown, check out our guide on how to season a new griddle—the same principles apply perfectly here.
Choosing Your Griddle Cleaning Arsenal
Trying to clean your commercial flat top with the wrong tool is a recipe for disaster. It’s like using a butter knife to chop an onion—you’ll get frustrated, it won’t work well, and you might even damage something. Assembling the right set of tools is absolutely critical to protect your investment, particularly for heavy-duty workhorses like an Atosa commercial griddle. The tools you grab will have a direct say in the performance and lifespan of your cooktop.
Your first line of defense is always a solid griddle scraper. Find one with a long, sturdy handle to keep your hands clear of the heat and a sharp, rigid blade that won't bend under pressure. This is your heavy lifter, the tool you’ll use to plow through the bulk of grease and food debris after a chaotic dinner rush. A flimsy or dull scraper will just smear the gunk around instead of actually removing it.
Scrapers, Bricks, and Pads
Once you've cleared the major mess, it's time to get down to the finer details. This is where your specialized tools come into play, and you need to pick the right one for the job.
- Griddle Bricks: These porous, pumice-like blocks are champs at grinding away that stubborn, burnt-on carbon without gouging the steel. They do wear down with use, so treat them as a consumable you'll need for those weekly deep cleans.
- Griddle Screens and Pads: Think of these as a finishing tool. They're abrasive screens attached to a handle, and they are perfect for the daily polish-up. They'll lift that last thin, greasy film that a scraper just can't get, leaving a smooth, ready-to-cook surface.
The secret is matching the tool to the task. A scraper does the heavy lifting, a brick tackles the rock-hard carbon, and a screen or pad gives you that daily shine.
For a standard steel griddle, both bricks and screens are fantastic. But if you’re working with a chrome top, you have to be more careful. Chrome is tough, but deep scratches from the wrong tool are permanent. For these, stick with non-abrasive pads and cleaners specifically made for chrome surfaces.
Cleaning Solutions: Food-Safe vs. Natural
When it comes to the liquid part of the cleaning process, you've got a couple of solid choices. Commercial, food-safe degreasers are engineered to dissolve polymerized grease in seconds. They are, without a doubt, the fastest way to get the job done in a busy kitchen because they’re designed to work on a hot surface, lifting grime with almost no elbow grease.
On the other hand, you can go the natural route. A simple 50/50 mix of white vinegar and water is an amazing degreaser; the acidity cuts right through the residue when you pour it on a warm griddle. Lemon juice and water work in a similar way and can leave your stainless steel with a brilliant shine. Natural options are cheap and don't create harsh fumes, so it really comes down to what your kitchen prefers—speed or simplicity.
Knowing what tools and agents to use is half the battle. To help you choose, here's a quick comparison of the most common options you'll find in a commercial kitchen.
Griddle Cleaning Tool and Agent Comparison
| Tool/Agent | Best For | Pros | Cons/Cautions |
|---|---|---|---|
| Griddle Scraper | Daily removal of heavy debris and grease. | Fast and effective for bulk cleaning. Reusable and durable. | Can scratch surfaces if used too aggressively. A dull blade is ineffective. |
| Griddle Brick | Weekly deep cleaning of stubborn carbon buildup. | Highly effective on tough, baked-on grime. Conforms to the griddle surface. | Abrasive, not for chrome. Wears down with use (consumable). |
| Screen/Pad | Daily polishing and removing thin grease layers. | Provides a smooth, polished finish. Great for daily maintenance. | Can be too abrasive for delicate surfaces. Requires a special holder. |
| Commercial Degreaser | Fast, heavy-duty cleaning in busy kitchens. | Extremely fast-acting. Formulated for tough, polymerized grease. | Can produce fumes. Requires careful handling and adherence to safety instructions. |
| Vinegar/Water Mix | Daily degreasing with a natural, food-safe option. | Inexpensive and readily available. No harsh chemicals or fumes. | Slower than commercial cleaners. May require more scrubbing for tough spots. |
Ultimately, having a few of these on hand allows your team to tackle any cleaning job, from a quick wipe-down to a full-scale restoration.
Keeping your griddle at the right temperature is also key during cleaning. Precise heat helps the cleaners work more effectively without scorching or causing damage. To learn more about how a thermostatic griddle provides the kind of temperature control that makes both cooking and cleaning easier, check out our guide.
Troubleshooting Common Griddle Cleaning Problems
Even if you’ve got your daily wipe-down routine perfected, you're going to hit a snag eventually. A busy commercial kitchen is tough on equipment, but the good news is that most griddle problems have a straightforward fix. Knowing how to spot and solve these issues on the fly is key to minimizing downtime and keeping the line moving.
One of the biggest headaches is a sticky griddle surface that just won’t let go of food. Nine times out of ten, this comes down to a problem with your seasoning. If that protective layer is too thin, patchy, or has been stripped off by acidic foods or harsh cleaning, you lose that beautiful non-stick finish. The other common culprit? Sugary glazes and marinades that caramelize and create a stubborn, tacky mess.
Dealing with Rust and Uneven Heating
Spotting rust on your griddle is never a good feeling, but it’s definitely fixable. Rust pops up when the steel surface stays exposed to moisture for too long, which often happens when a griddle isn't dried thoroughly after cleaning. To get rid of it, just grab some steel wool or a griddle screen and scrub the rusty spots with a little oil until they're gone.
But what you do next is the most important part. You must immediately re-season the griddle. A fresh, thin layer of high-smoke-point oil wiped over the clean, dry surface and heated up will forge a new protective barrier and stop the rust from coming right back.
Another classic problem is uneven heating—you know, when one corner is scorching hot and another spot is barely warm. This almost always points to heavy carbon buildup. Thick, burnt-on grease acts like an insulator, blocking heat from reaching the cooktop consistently. The result is a cook's nightmare: burnt pancakes and raw burgers. The only real solution is a serious deep clean to strip away that carbon and get the heat source back in direct contact with the steel.
Restoring a Sticky or Tacky Surface
If your griddle surface feels sticky or tacky, it's time to take action. This usually comes from one of two things, and figuring out which one it is will tell you how to fix it.
- Poor Seasoning: A weak or damaged seasoning layer is the most common cause of food sticking. You might notice the surface looks dull or has little flaky black bits.
- Sugary Residue: Sauces high in sugar can caramelize into a gummy film that a quick scrape-down might not fully remove.
To tackle this, your first move should be a deep clean. Get out the griddle brick or a good degreaser and strip that surface down. If the culprit was just sugary residue, this might be all it takes. But if your seasoning was the real issue, you'll need to rebuild it from scratch by applying several thin coats of oil and heating the griddle past its smoke point each time.
A properly seasoned and maintained Atosa griddle should have a deep, dark, semi-glossy finish. If your surface looks dull, patchy, or dry, it’s a clear signal that your seasoning layer needs attention before it starts causing problems during service.
Answering Your Top Griddle Care Questions
Even the most seasoned kitchen crew runs into questions. When you're in the middle of a busy service, you need answers fast to keep things moving and protect your investment. Let's tackle some of the most common questions we hear about keeping a commercial flat top griddle in prime condition.
How often should you really be deep cleaning this thing? For most commercial kitchens, a full-on deep clean at least once a week is the standard. But if you're slinging items with sugary glazes or running a high-volume diner, you'll probably need to bump that up to twice a week. Do that, and you'll stay ahead of that stubborn carbon buildup that's a pain to remove.
Is It Okay to Use Soap on a Steel Griddle?
This one trips a lot of people up. The short answer is yes, a mild soap and water solution is an option, but you have to be careful. Soap is fantastic for cutting through caked-on grease, but it's a double-edged sword—it will also completely strip away that beautiful non-stick seasoning you've worked to build up.
If you go the soap route, you absolutely must rinse every last bubble off the surface. Then, dry it completely. Any moisture left behind is a fast track to rust. The last step is non-negotiable: you have to re-season the cooktop immediately to get that protective layer back. This is critical for any steel griddle, including tough-as-nails models from Atosa.
Pro Tip: Not sure if your seasoning is holding up? Just sprinkle a few drops of water onto the surface. If they bead up and dance around, you're in great shape. If the water just sizzles away instantly, it’s time to add a new layer of seasoning.
How Do You Deal with Seriously Burnt-On Messes?
We've all been there—a patch of blackened, carbonized food that seems welded to the steel. The best way to attack this is in stages.
First, get your scraper and remove as much of the loose debris as you can while the griddle is still hot. This gets the worst of it out of the way.
Next, carefully pour a little warm water over the hot spot (the ice cube trick also works great here). The steam that billows up does an incredible job of loosening what’s left. Grab a griddle brick or screen and work the area in firm, circular motions. If you've got a spot that just won't budge, it's time to bring out a food-safe commercial griddle cleaner. It's the ultimate tool for getting your surface back to looking brand new.
Ready to equip your kitchen with a griddle that’s built to last and easy to maintain? At Griddles.com, we specialize in top-tier commercial equipment designed for the demands of a professional kitchen. Find the perfect Atosa griddle and all the tools you need for a complete setup.