

How to Convert Natural Gas to Propane Griddles
So you've got a commercial griddle designed for natural gas, but your business is on the move. What's the plan? The process of converting it to run on propane is all about swapping out a few key components—specifically the orifices and regulator—to safely handle propane's unique properties.
This isn't just a minor tweak; it's a crucial modification that ensures your griddle runs efficiently and, most importantly, safely, especially when you're setting up shop where natural gas lines don't exist, like in a food truck or at an outdoor catering event.
Why Bother Converting a Griddle to Propane?
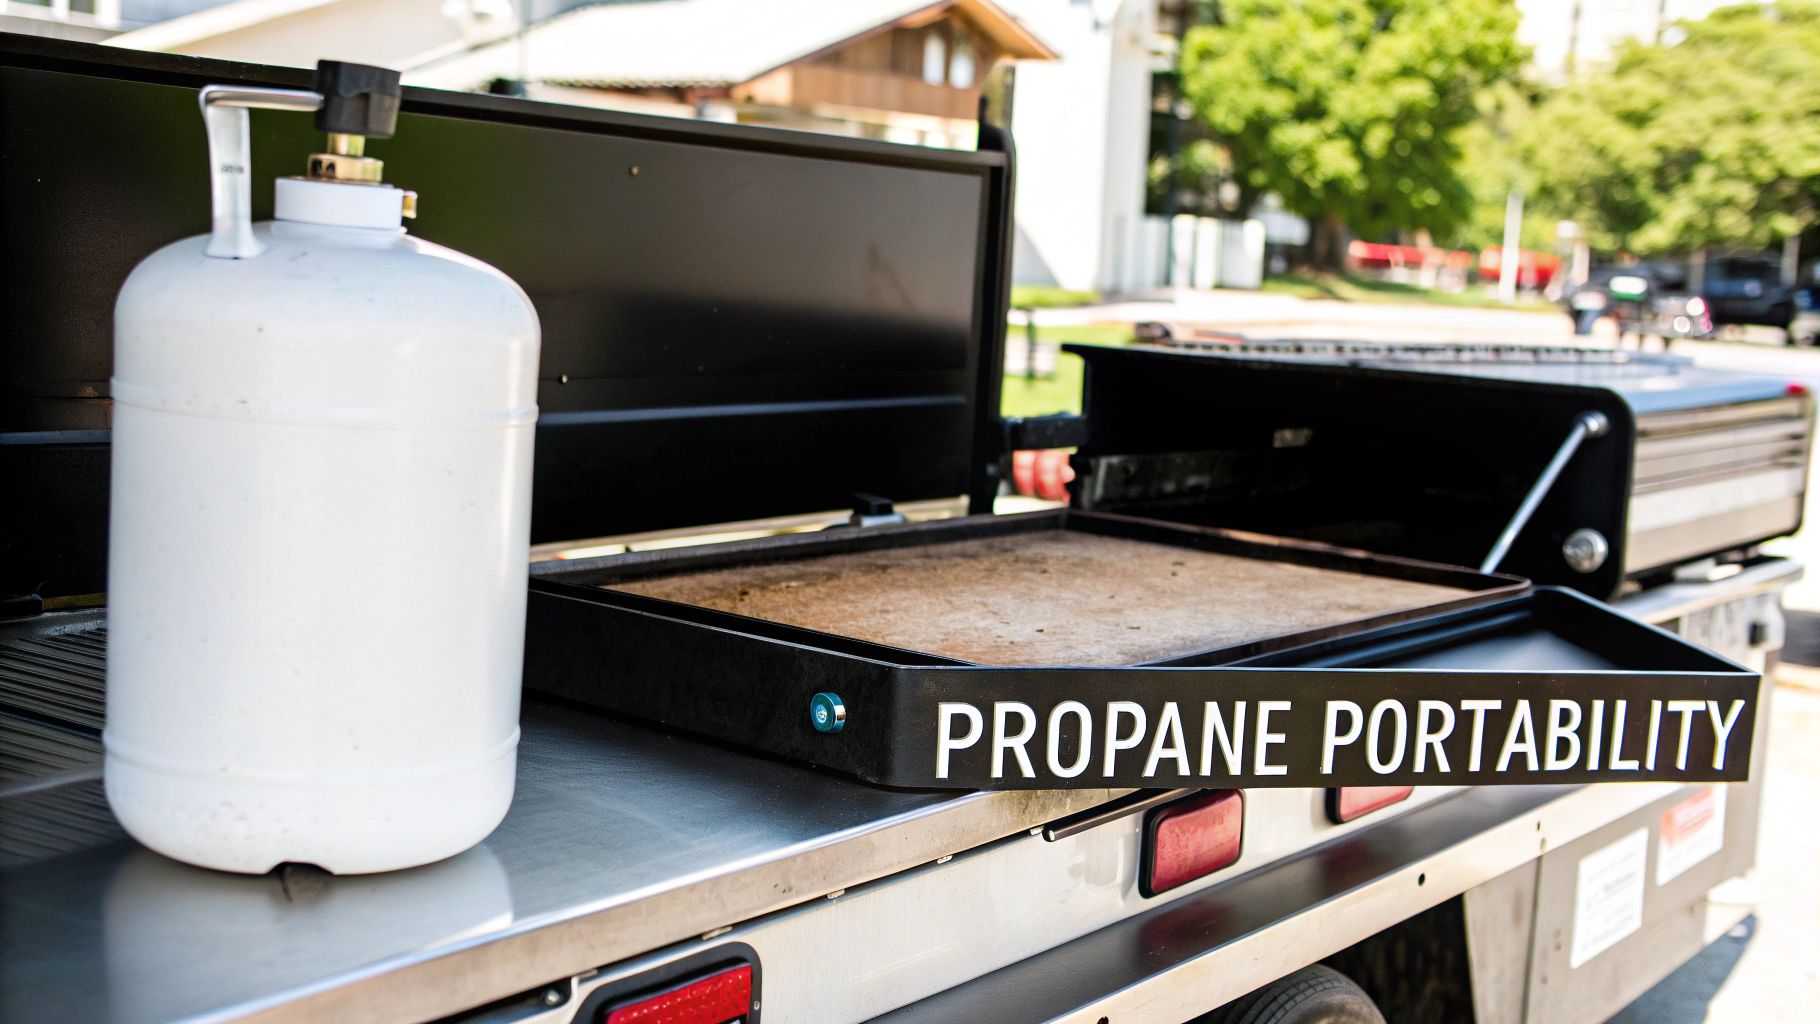
So, why would a kitchen or food business ever need to mess with its griddle’s fuel source? The reason almost always boils down to one simple, powerful word: portability.
Natural gas is an incredible, budget-friendly fuel when you’re in a fixed spot with utility hookups. It's piped right into your restaurant for a steady, endless supply. The minute your business needs to be mobile, however, that pipeline becomes less of an asset and more of an anchor.
This is exactly why knowing how to convert natural gas to propane is such a valuable skill for anyone with a commercial griddle.
Embrace Culinary Flexibility on the Go
Think about a few real-world situations where this griddle conversion goes from "nice to have" to absolutely essential for your business to even function.
- Launching a Food Truck: Food trucks are the ultimate mobile kitchens. They're in a new spot every day and have zero access to city gas lines. For them, propane stored in portable tanks is the lifeblood of the operation.
- Expanding into Outdoor Catering: From weddings in a field to a booth at the local farmers' market, off-site events require you to bring a fully self-sufficient kitchen. A propane-powered griddle lets you serve up that restaurant-quality experience anywhere.
- Relocating Your Business: Sometimes you find the perfect new spot for your restaurant, but it doesn't have existing natural gas infrastructure. Instead of footing a massive bill for construction to run a new gas line, converting your griddle to propane is a much more practical—and faster—solution.
Understanding the Difference in Fuels
A huge misconception is that you can just hook up a propane tank to a natural gas griddle and call it a day. Let's be clear: this is extremely dangerous and simply will not work. The problem lies in the fundamental chemistry of the two fuels. If you want a deep dive, check out our full comparison of natural gas vs. propane.
The bottom line is that propane is way more energy-dense. To put numbers on it, propane packs about 2,516 BTUs (British Thermal Units) per cubic foot, while natural gas only provides around 1,030 BTUs. That means propane delivers more than double the energy in the same amount of space.
To manage that extra power, propane is delivered to your griddle at a much higher pressure. Trying to force high-pressure, energy-rich propane through a system built for low-pressure natural gas is a recipe for disaster. You'll get dangerously large flames, incomplete combustion, and a nasty buildup of soot and carbon monoxide.
To quickly see how these two fuels stack up for commercial griddles, here's a simple breakdown.
Natural Gas vs Propane At a Glance
| Characteristic | Natural Gas | Propane (LP Gas) |
|---|---|---|
| Energy Content | Lower (~1,030 BTU/cu. ft.) | Higher (~2,516 BTU/cu. ft.) |
| Portability | Fixed pipeline, not portable | Highly portable in tanks |
| Pressure | Low pressure (approx. 0.25 PSI) | High pressure (100-200 PSI in tank) |
| Ideal Use Case | Stationary kitchens, restaurants | Food trucks, catering, mobile units |
| Cost | Generally cheaper per unit | Can be more expensive, prices vary |
Ultimately, this comparison shows why a proper griddle conversion is non-negotiable for both performance and safety.
Key Takeaway: The conversion process is a mandatory safety and performance measure. It involves replacing key components to correctly regulate the pressure and flow of the more potent propane fuel, ensuring your griddle operates as the manufacturer intended.
Making the switch empowers you to break free from the limitations of fixed utility lines. It’s a standard procedure that unlocks new revenue streams, whether you’re flipping burgers at a festival, catering a wedding, or launching the food truck you've always dreamed of. It’s all about making your professional griddle work for you, wherever your business takes you.
Gathering Your Tools and the Right Conversion Kit
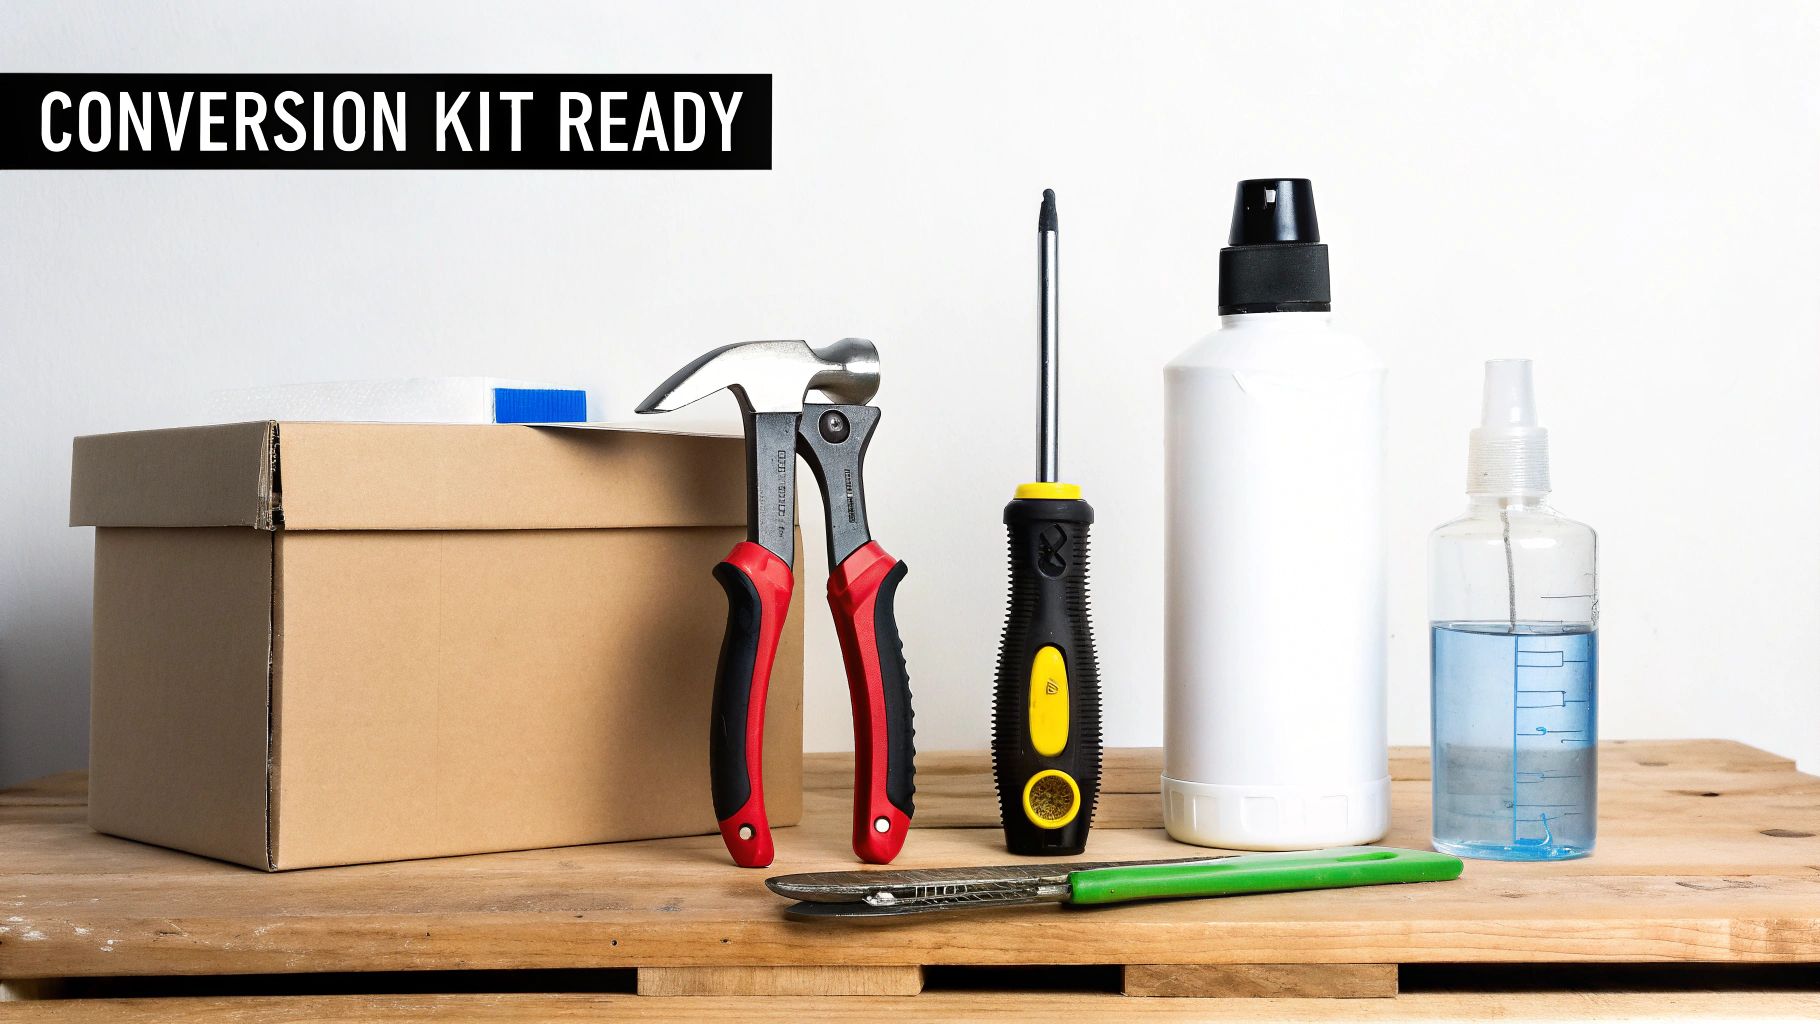
Before you even think about loosening a single bolt on your commercial griddle, the most important work begins: getting prepared. Having all your tools and the correct parts laid out is the single biggest factor in a safe, successful conversion. Trying to make do with the wrong wrench or a generic kit from a big-box store is a recipe for gas leaks, poor performance, and serious safety issues for your griddle.
Think of it like a chef's mise en place. Get everything organized first, and the rest of the process will go smoothly, preventing frustration and dangerous mistakes down the line. This is your foundation.
Assembling Your Essential Toolkit
You don't need a professional mechanic's toolbox for this, but you absolutely need the right tools for this specific job. Most of these are common items, but each one has a critical role. For example, using pliers instead of a proper pipe wrench can easily strip a fitting, causing permanent damage to your griddle.
Here's a straightforward checklist of what you'll want on your workbench:
- Adjustable Pipe Wrenches (2): You need two. One holds the pipe or fitting steady while the other does the turning. This two-wrench method is non-negotiable; it prevents you from torquing and damaging the griddle’s internal gas lines.
- Screwdriver Set: A good multi-bit driver is ideal. You'll run into both Phillips and flathead screws when taking off panels to get to the burner assembly.
- Orifice Removal Tool or Socket Set: Some burner orifices have a simple hex head that a small socket will fit. Others might need a special tool, which high-quality conversion kits often include.
- Gas-Rated Pipe Thread Sealant: Make sure you get the yellow Teflon tape or a pipe dope specifically made for gas lines. Never use the standard white plumber's tape—it will break down when it comes into contact with propane.
- Leak Detection Solution: A simple spray bottle with soapy water is the gold standard for checking your connections. It’s cheap, effective, and completely reliable.
Sourcing the Manufacturer-Approved Conversion Kit
This is, without a doubt, the most critical piece of the puzzle. Using a generic or mismatched conversion kit is the number one cause of failed—and dangerous—griddle conversions. The kit isn't a "one-size-fits-all" part.
It absolutely must be designed specifically for your griddle’s make and model. An incorrect kit will result in improperly sized flames, which can produce deadly carbon monoxide and create a serious fire hazard.
Your commercial griddle was engineered with a precise set of components. The only safe way to convert it is with the exact parts specified by the manufacturer. There is no safe alternative.
Here's how to find the right kit, step by step:
First, find the data plate on your griddle. It's a metal plate or sticker, usually on the back, side, or inside a front panel. Write down the full model number and serial number.
Next, with that info in hand, call the manufacturer's customer support line. Ask them for the exact part number for the natural gas to propane conversion kit that matches your model.
Finally, buy that specific kit from a reputable supplier. It's worth noting that if you're shopping for new equipment, many modern units, like those in our collection of propane griddles, are often "field convertible" and include the correct kit right in the box.
Taking the time to gather the right tools and the official kit isn't just a suggestion—it's essential for a smooth, predictable, and safe conversion.
Getting Your Hands Dirty: The Conversion Process
Alright, you’ve got your manufacturer-approved conversion kit and your tools are ready to go. Now comes the hands-on part. This is where patience and a laser focus on safety really pay off. We’re going to walk through this together, breaking down each step into simple, clear tasks.
Our goal isn't just to swap out a few parts. It's to build a totally secure, leak-free system for your griddle. Follow these instructions carefully, and you’ll have your griddle safely converted in no time.
First Things First: Secure the Area and Kill the Gas
Before you even think about picking up a wrench, safety has to be your number one priority. That means shutting off the gas supply completely and making sure your workspace is clear.
Go find the main gas shut-off valve for the line feeding your griddle. It's usually a lever on the pipe coming from the wall or floor. Turn that lever so it's perpendicular (at a right angle) to the pipe. That's it—the gas is off.
Even with the valve closed, there's still a little gas trapped in the line. You need to get rid of it. Try to light one of the burners on your griddle. You might see a quick flare-up before it goes out. Once it won't light at all, you know the line is clear.
Now you can grab your two pipe wrenches. Use one to brace the stationary fitting on the gas line and the other to unscrew the connector on the flexible hose. This two-wrench technique prevents you from accidentally twisting and damaging the building's gas pipe.
Getting to the Guts: Accessing the Burners and Orifices
With the griddle safely disconnected, it's time to get inside to the burner assembly where the real work happens. On most commercial griddles, this means taking off the front panel or the panel where the control knobs are.
Use your screwdriver to take out the screws holding the panel. I highly recommend a magnetic tray or at least a small cup to keep them from rolling away and getting lost.
Panel off? You should now be looking at the gas valves, the main manifold pipe, and the burner tubes. The parts we’re after are the orifices—they’re small, brass, thimble-like fittings. Gas flows through these tiny openings right before it enters the burner tube. You'll find them screwed directly into the manifold or the valve itself.
Pro Tip: Before you touch another thing, pull out your phone and snap a few clear pictures of the setup. Trust me, having a visual reminder of how a wire was routed or a bracket was positioned can be a real lifesaver when you're putting it all back together.
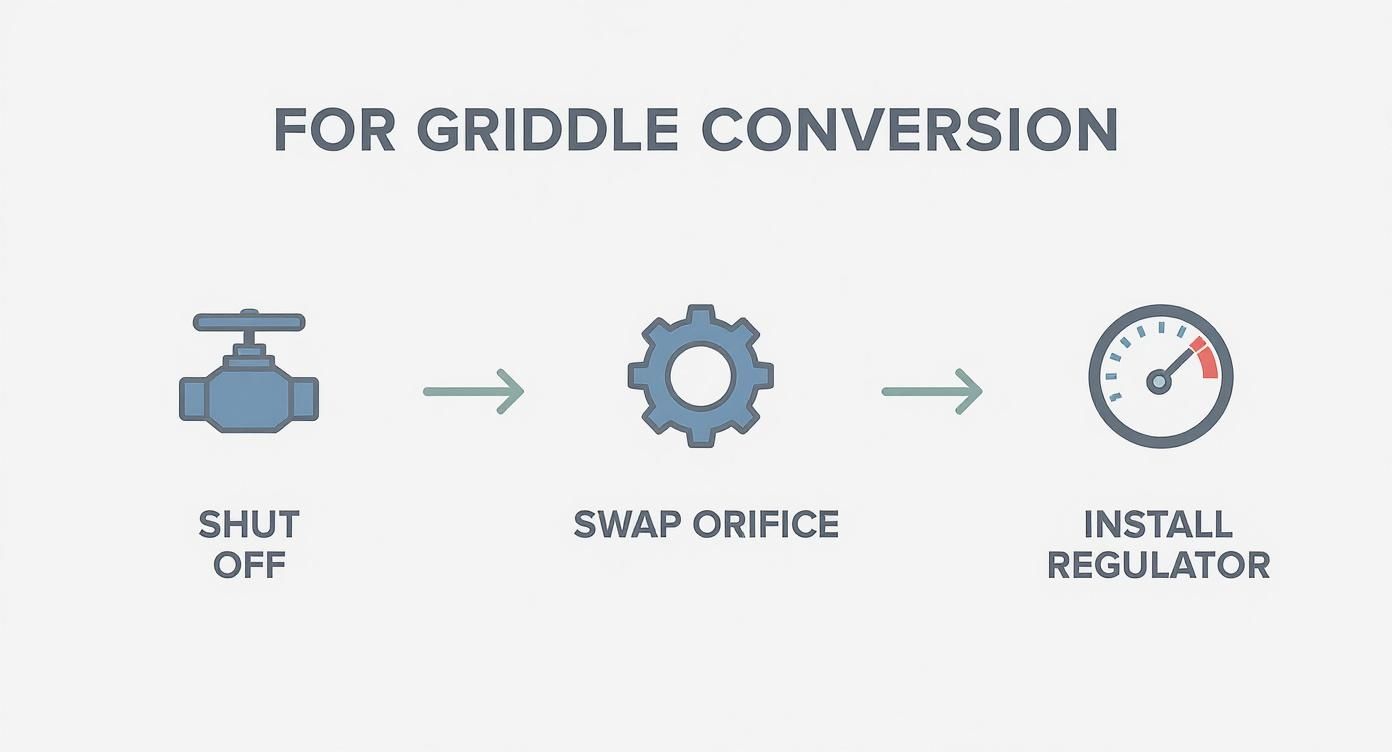
The Main Event: Swapping Orifices and Installing the Regulator
This is the most critical step. The orifice is what meters the amount of gas going to the burner. Because propane is under higher pressure and packs more energy, the propane orifices in your kit will have much smaller holes than the natural gas ones you're removing.
Gently slide the burner tubes off their mounts to get a clear shot at the orifices. They're usually held on by a single screw or just slip into place. Using your orifice removal tool or a properly sized socket, carefully unscrew the old natural gas orifices.
Every now and then, an orifice will be stubborn from years of heat and gunk. If you hit a snag, a little penetrating oil can work wonders. Let it sit for a few minutes, then try again. Whatever you do, don't just crank on it with all your might—you could easily strip the soft brass or damage the manifold threads.
Once the old orifices are out, grab the new propane ones from your kit and screw them in. You want them to be snug, but don’t go crazy tightening them. A firm seal is all you need.
Next up is the new propane regulator. The entire point of this conversion involves replacing the orifices and installing a propane-specific regulator to adjust the gas pressure. You're going from the standard 3-4 inches water column (W.C.) for natural gas up to 10-11 inches W.C. for propane. This pressure change is non-negotiable, as propane is denser and needs that higher pressure to burn correctly. If you want to dive deeper into the technical side of gas conversions, Levco.io has some great insights. This new regulator will sit between your propane tank's supply line and the griddle.
Sealing the Deal and Reconnecting
A proper seal on every connection is what stands between you and a dangerous gas leak. This is where your yellow, gas-rated Teflon tape (or pipe dope) comes in. Do not skip this.
Here’s how to apply the tape like a pro:
- Start on the second thread from the end of the male fitting.
- Wrap the tape clockwise (the same direction you'll be tightening the fitting).
- Overlap the tape by about half its width with each wrap.
- Go around three or four times.
Wrapping clockwise is key. It makes the tape tighten into the threads as you screw things together instead of bunching up and unraveling. After you've sealed all the connections, you can reinstall the burner tubes and put the front panel back on.
Finally, connect your new propane regulator and hose to the griddle’s gas inlet, again using that two-wrench method for a secure fit. The mechanical work is done, but you're not finished yet. The next step—the safety check—is the most important one of all.
Performing Critical Safety Checks and Testing
With the wrenches put away, it’s easy to think you're done. But what you do next is the most critical part of the entire griddle conversion. These final safety checks aren’t just a good idea—they're what stand between a perfectly cooked meal and a serious hazard.
This is your final quality check. It's where you get the peace of mind that every connection is sealed tight and your fuel is burning exactly as it should. Don't skip this.
The Essential Leak Test
After any gas work, the number one risk is a leak. Even a tiny, slow leak can create a dangerous situation, especially in an enclosed space like a food truck. Fortunately, checking for leaks is dead simple.
All you need is a spray bottle with a bit of dish soap and water—a one-to-four ratio works great. Turn on the main gas valve at your propane tank, but do not light the griddle yet.
Now, go to town spraying every connection you touched. This means hitting:
- The fitting where the new regulator hose meets the griddle.
- The connection between the hose and your propane tank.
- Any other joints on the griddle’s manifold you might have adjusted.
You're looking for one thing: bubbles. If you see any bubbles forming or foaming, you’ve found a leak. Shut off the gas at the tank immediately. Give the fitting another quarter-turn with your wrench, turn the gas back on, and re-test. Only move on when every single connection is completely bubble-free.
Achieving the Perfect Propane Flame
Once you're 100% sure there are no leaks, it’s finally time to light the burners and check the flame. The color and behavior of the flame will tell you everything you need to know about the combustion.
A healthy propane flame should be a vibrant blue with just the slightest yellow tips. This means you have complete, clean combustion, giving you maximum heat for your fuel.
If your flame is mostly yellow or orange, looks lazy, and is producing black soot, you have a problem. A yellow flame is a major red flag for incomplete combustion. Not only does this waste fuel, but it also creates dangerous levels of carbon monoxide. Getting this right is a core part of kitchen safety, and you can see why air quality is so important in our guide to commercial kitchen ventilation requirements.
Fine-Tuning Your Burner Air Shutters
So what’s the fix for a sooty, yellow flame? It’s usually a quick adjustment of the burner’s air shutter. This is a small metal collar at the base of each burner tube, right where the gas comes out of the orifice. Its job is to mix the right amount of oxygen with the propane before it ignites.
To adjust it, just loosen the small screw holding the shutter. With the burner on low, slowly slide the shutter open or closed.
- Too much yellow? Your fuel mix is too rich (not enough air). Open the shutter a little to let more oxygen in.
- Flame lifting off the burner? Your mix is too lean (too much air). Close the shutter slightly to dial back the oxygen.
Your goal is that perfect, stable blue flame. Tweak each burner, one at a time, until they all look right. This is a crucial step because propane is about 30% more energy-dense than natural gas, so it needs a very specific air-to-fuel ratio to burn properly.
Once your leak test is passed and your flames are burning a perfect blue, the job is officially done. Your griddle is now safely and correctly converted to propane.
Common Conversion Mistakes and When to Call a Pro
Getting the conversion done right is one thing, but making sure it's safely done is everything. Even if your griddle fires up, a hidden issue could be lurking. We've seen a few common pitfalls trip people up over the years, and they often seem like minor details at first glance.
One of the biggest blunders is mixing up the orifices or grabbing a generic kit from the hardware store. It’s an easy mistake to make. But remember, propane is under higher pressure, so its orifices have much smaller holes. If you install a natural gas orifice with a propane line, you'll get massive, uncontrollable flames on your griddle. Do it the other way, and you'll be lucky to get enough heat to warm a tortilla.
Another classic slip-up is over-tightening the fittings. It feels like tighter should be safer, right? Not with soft brass fittings. A little too much muscle, and you'll strip the threads. A stripped fitting is a permanent gas leak waiting to happen, and the only fix is often a costly replacement of the entire gas manifold.
Recognizing When You're in Over Your Head
There's a lot of satisfaction in a DIY job well done, but working with gas isn't the time for stubborn pride. Knowing your limits is the most important tool you have. If something feels off, it probably is.
Your safety, along with that of your staff and customers, is non-negotiable. There is absolutely no shame in stopping, turning off the gas at the tank, and calling in a certified gas technician to finish the job or even just to double-check your work.
Key Takeaway: If you hit any of the red flags below, don't try to be a hero. Shut down the gas supply immediately and get a qualified professional on the phone. The risk just isn't worth it.
Red Flags That Demand a Professional
Some problems are more than just a simple tweak. If you run into any of these situations with your griddle, it’s time to make the safe call and bring in an expert.
- You Smell Gas After Testing: That distinct rotten egg smell is added to propane for a reason—it's an unmistakable alarm bell. If you can smell gas after you’ve already done your soap test and tightened everything down, you have a leak you can't see.
- The Flame is Uncontrollable or Lifts Off the Burner: This is a major warning sign. If a burner flame is shooting up, doesn't respond when you turn the knob, or looks like it's floating above the burner tube, you've got a serious pressure or regulator problem. Shut it down.
- Persistent Yellow Flames: A healthy flame is blue. If you’ve adjusted the air shutters and you’re still getting lazy, yellow flames, something is wrong. This isn't just inefficient; it means the griddle is producing dangerous carbon monoxide.
- You Feel Uncertain at Any Point: Gut feelings matter here. If you’re hesitating about which orifice is which, how much sealant to use, or any other step, it’s far better to let a pro handle it than to live with the uncertainty.
Ultimately, knowing how to convert natural gas to propane for your griddle also means knowing when to step back. A professional has the specialized diagnostic tools and the experience to pinpoint and resolve complex issues safely, ensuring your griddle remains a reliable workhorse, not a dangerous liability.
Your Top Questions About Griddle Conversion
Even after walking through the steps, you probably still have a few questions buzzing around. That’s perfectly normal. When you’re dealing with gas lines and your expensive commercial griddle, you want to be sure about everything from cost to warranty.
Let's clear up those final details so you can move forward without any second-guessing.
What's This Conversion Going to Cost Me?
This is usually the first question on everyone's mind, and the answer is better than you might think. For the most part, converting your griddle isn't a massive expense.
The main cost comes from the manufacturer-approved conversion kit. You can expect this to run anywhere from $50 to $200, depending on your griddle's brand. Here's a pro tip, though: many new commercial griddles are "field convertible" and come with the propane kit right in the box, bringing your parts cost down to zero.
If you bring in a pro (which we always recommend for safety), you'll have to account for their time. A certified gas technician will likely charge between $100 and $300 for the job. So, all in, you're looking at a range from just the cost of the kit to around $500 if you have a professional handle everything.
Will I Void My Warranty if I Convert It?
This is a big one, and thankfully, the answer is a straightforward "no," with one major condition. Your griddle's warranty will stay completely intact as long as you use the official, manufacturer-supplied conversion kit made for your specific model. Manufacturers expect you to do this and provide the parts for that reason.
Where you get into trouble is with generic, third-party kits. If you try to cut corners with the wrong parts and something goes wrong later, you can bet the manufacturer will void your warranty. Stick to the official kit—it's the best insurance you have for your equipment.
Our Expert Takeaway: Keep your paperwork. Hold onto the receipt for the official kit and the invoice from your technician if you hired one. If you ever need to file a warranty claim, this documentation is your proof that you did everything by the book.
Can I Switch It Back to Natural Gas Later?
Yes, absolutely. One of the best things about this griddle conversion is that it's not a one-way street. If your business needs change—maybe your food truck finds a permanent home in a restaurant with a natural gas hookup—you can easily reverse the process.
You'll just do everything in reverse:
- Shut off the propane supply and disconnect the griddle.
- Take out the propane orifices and the propane regulator.
- Install the original natural gas orifices you set aside.
- Hook the griddle back up to the natural gas line.
- Run a full leak test and adjust the air shutters until you have that perfect blue flame.
The most important part of this is to save the original natural gas parts. Put the orifices and the regulator in a small, clearly labeled bag and store them somewhere safe. Losing those tiny pieces can turn a simple job into a major headache trying to find replacements.
At Griddles.com, we know that adaptable, dependable equipment is the backbone of any successful kitchen. Whether you're in the market for a new field-convertible griddle or just need some expert advice, we're here to help you get cooking. Check out our full lineup of commercial cooking solutions at https://griddles.com.