
Commercial Kitchen Equipment Maintenance: Master Your Griddle Care
When it comes to your commercial kitchen, the best offense is a good defense. This is especially true for your griddle. Instead of waiting for a total meltdown that brings your dinner rush to a screeching halt, a consistent care routine is what keeps your griddle at its best, churning out quality food safely, day after day. It's all about shifting from panicked repairs to smart, preventative care—that's the real secret to protecting your investment and your reputation.
Why Proactive Griddle Maintenance Matters

Think of your commercial griddle as the engine of your kitchen. Whether it's firing up for pancakes at a diner or searing burgers in a high-volume spot, its performance is directly tied to your bottom line. If it goes down unexpectedly, the whole operation can grind to a halt, leading to lost cash and angry customers.
That’s why a maintenance plan isn't just a nice idea; it's an absolute must-have for any serious kitchen. Being proactive means you spot the small stuff—a frayed wire, a sticky thermostat—before it turns into a catastrophic failure. It's like a regular health check-up for your kitchen's MVP.
The Financial Case for Consistent Upkeep
Putting off regular maintenance might feel like you're saving a few minutes here and there, but trust me, it’s a costly gamble. This is truer now than ever, with the prices of new units climbing steadily. Between January 2022 and October 2024, the replacement cost for some commercial griddles shot up by over 21%. That number alone makes a pretty strong case for extending the life of the griddle you already own.
On top of that, a well-maintained griddle just runs better. Clean heating elements and properly calibrated thermostats give you that perfectly even heat distribution, which means better food quality and lower energy bills. It's a win-win.
A griddle that heats evenly cooks faster and more consistently. That means shorter ticket times and less food waste from burnt or undercooked orders. This efficiency boost goes straight to your bottom line and keeps your guests happy.
Operational Benefits Beyond the Bottom Line
The perks of a proactive maintenance schedule go way beyond just saving money. A clean, properly seasoned griddle surface stops flavor transfer in its tracks. No one wants their grilled cheese tasting faintly of this morning's bacon.
A predictable routine helps in a few other key ways, too:
- Keeps Food Safe: Regularly cleaning out grease traps and scraping off food debris is huge. It cuts down on fire hazards and stops harmful bacteria from growing where it shouldn't.
- Boosts Staff Morale: Let's be honest, chefs and line cooks are happier and work better when their tools are clean, reliable, and ready for action.
- Guarantees Temperature Control: Proper upkeep ensures your thermostatic griddle holds its temperature accurately. That's non-negotiable for cooking proteins safely and getting that perfect sear every single time.
Ultimately, proactive griddle maintenance is about taking control. It lets you manage your equipment's health, avoid expensive surprises, and set your team up for a flawless service, shift after shift.
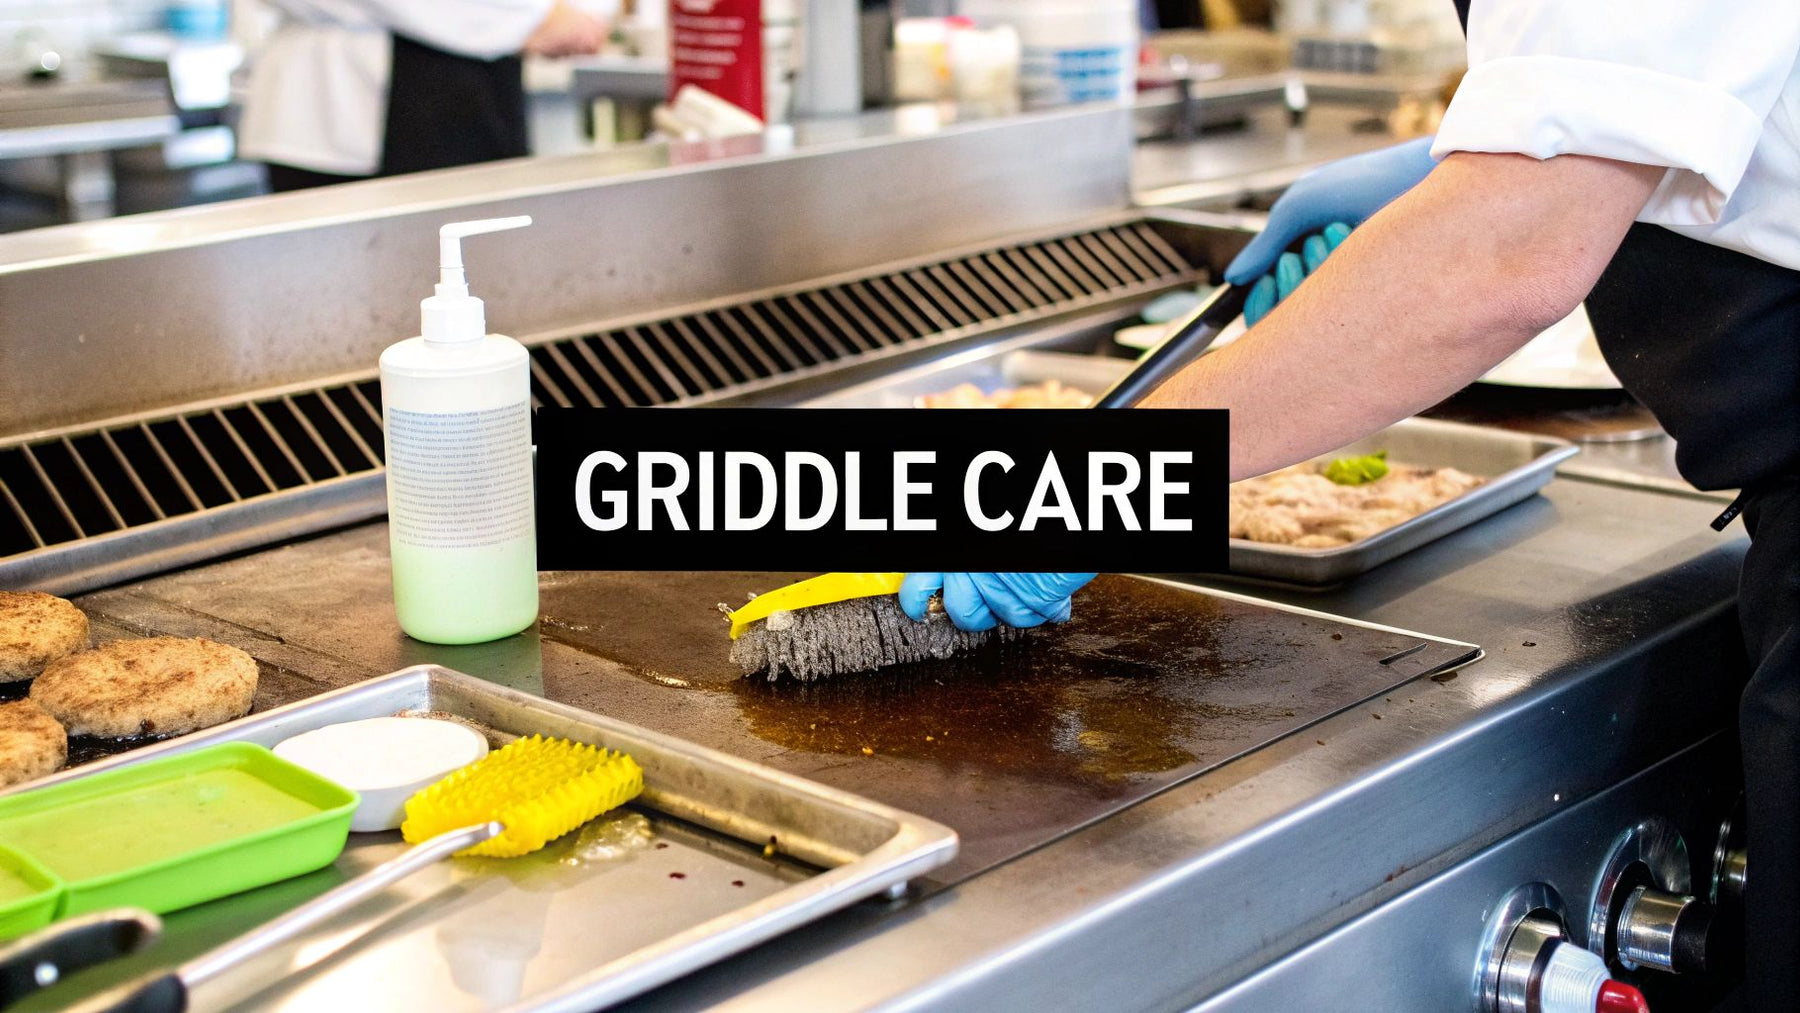
The Daily Ritual for a Pristine Griddle
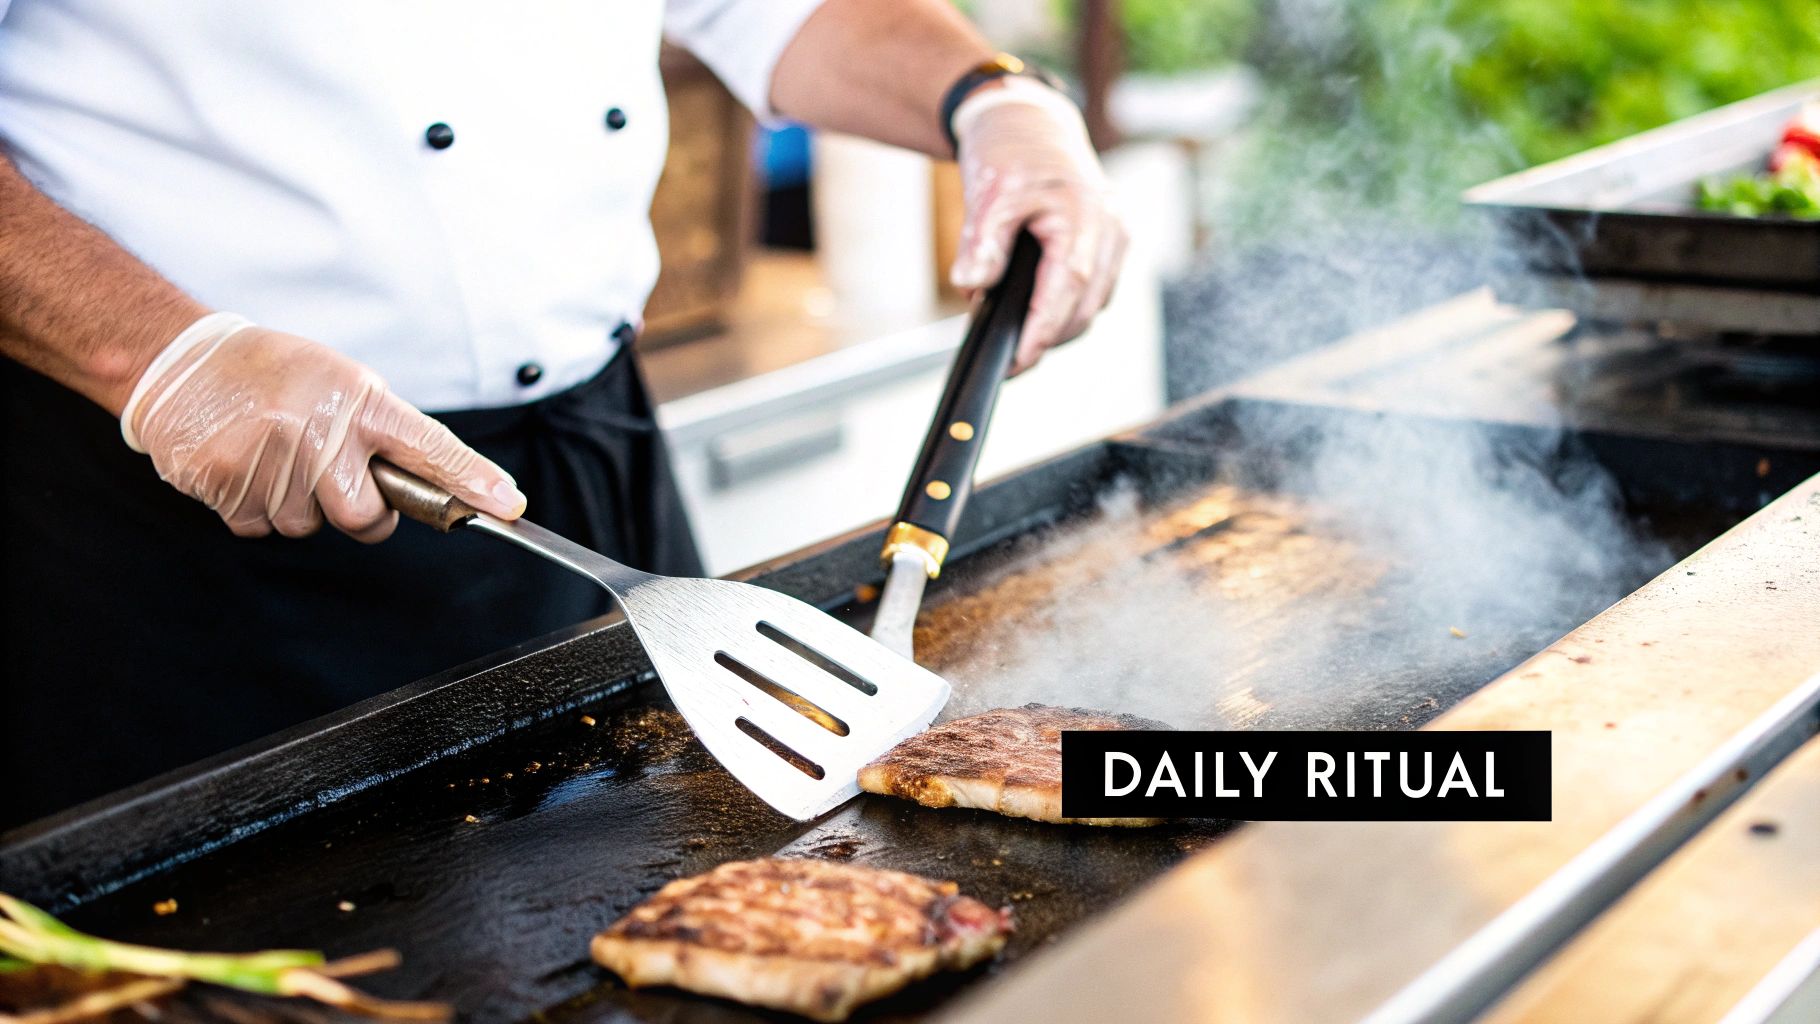
The last 15 minutes of a shift can make or break your griddle's lifespan. Seriously. A consistent, end-of-day cleaning is the single most important thing you can do for this piece of equipment. It's the difference between a reliable workhorse and a unit that gives you nothing but trouble.
This isn't just a quick scrape-down. It's a methodical process that stops carbon from building up, prevents that weird flavor transfer between foods, and drastically cuts down on fire risk. Skip this, and you're literally cooking today's leftover grease and char into tomorrow's pancakes.
The Cool-Down and First Scrape
Timing is everything here. You want to clean the griddle while it's still warm, but not ripping hot. We've found the sweet spot is right around 300°F to 350°F. At that temp, the grease is still liquid and easy to push around, but it won't cause your cleaner to instantly turn to smoke.
So, after that last ticket, kill the heat and give it 10-15 minutes. Grab a heavy-duty griddle scraper—make sure it has a sharp, straight edge—and push all the gunk into the grease trough. Always work away from your body with smooth, even strokes. This first pass gets rid of the big stuff.
Choosing and Using Your Cleaning Solution
With the surface clear of loose debris, it's time to deal with the stubborn, baked-on grime. What you do next completely depends on your griddle type.
- Standard Steel Griddles: A good, food-safe griddle cleaner is your best friend here. Pour it on the warm surface and give it a few minutes to do its thing. You'll see it start to bubble up and lift that caked-on carbon. Then, go at it with a griddle pad or brick to scrub the surface clean.
- Chrome Griddles: Be careful with chrome—it's delicate. You should never use a griddle brick or steel wool on it, or you'll scratch the finish for good. Instead, reach for a soft cloth or a special non-abrasive pad and a cleaner made specifically for chrome. It's more of a polishing motion than a hard scrub.
After scrubbing, use your scraper one last time to push all the cleaner and loosened gunk into the trap. Then, give it a good wipe-down with a clean, damp cloth to rinse off any leftover chemicals. A final wipe with a dry cloth is crucial to prevent rust from forming overnight.
One of the worst mistakes I see is chefs dumping ice or cold water on a hot griddle to speed things up. This can cause thermal shock, which will warp or even crack the griddle plate. That's an expensive, sometimes impossible, repair. A little patience goes a long way.
Don't Forget the Grease Trap
It’s easy to ignore, but the grease trap is a massive fire hazard if you let it go. It's also a magnet for pests. This needs to be emptied and cleaned every single day, no exceptions.
Slide the trap out carefully—the grease inside will still be hot. Get rid of the collected grease according to your local health codes. And please, never pour it down a drain. It will solidify and cause a plumbing nightmare you don't want to deal with.
Once it's empty, just wash the trap in the sink with hot, soapy water like any other pan. Dry it completely before you slide it back in. That's it. You've just invested a few minutes to keep your griddle clean, safe, and ready for whatever tomorrow's service throws at it.
Mastering Weekly and Monthly Deep Cleans
Your daily wipe-downs are essential, but they only scratch the surface. To really keep your griddle in top fighting shape, you need to go deeper with weekly and monthly cleaning rituals. This is where you tackle the stubborn, baked-on gunk and give the machine a proper health check.
Think of it this way: the daily clean is like wiping the counter after making a sandwich. The deep clean is like pulling out the fridge to sweep behind it. Both are necessary, but one prevents much bigger problems down the line. These scheduled deep cleans are where you'll really protect your investment.
Performing a Griddle Boil Out
One of the most satisfying weekly tasks is the "boil out." This simple trick uses simmering water to lift away even the most caked-on, carbonized grease, leaving your griddle plate looking practically new. It's incredibly effective.
First, get the griddle warm, but not scorching hot—around 200°F is perfect. You'll need to create a temporary dam around the edges of the griddle plate. You can use heat-resistant silicone strips, but in a pinch, even some heavily folded, wet towels will do the job.
Carefully pour water onto the surface, then add your cleaning agent. This can be a commercial-grade griddle cleaner or even a simple mix of white vinegar and water. Let it all simmer for about 15-20 minutes. As it bubbles away, you'll literally see the gunk start to peel off the steel.
Once the time is up, kill the heat, carefully drain the dirty water into a heat-safe bucket, and finish up with a good scrape and a final wipe. For a full rundown on different cleaning techniques, check out our guide on how to clean a flat-top griddle for more pro tips.
Don't underestimate the power of a simple vinegar solution. It's a cost-effective and food-safe alternative to harsh chemicals that can be surprisingly effective at breaking down stubborn grease during a boil out, especially for kitchens looking for greener cleaning options.
This simple infographic outlines the key steps of the daily cleaning ritual, which sets the stage for more intensive weekly maintenance.
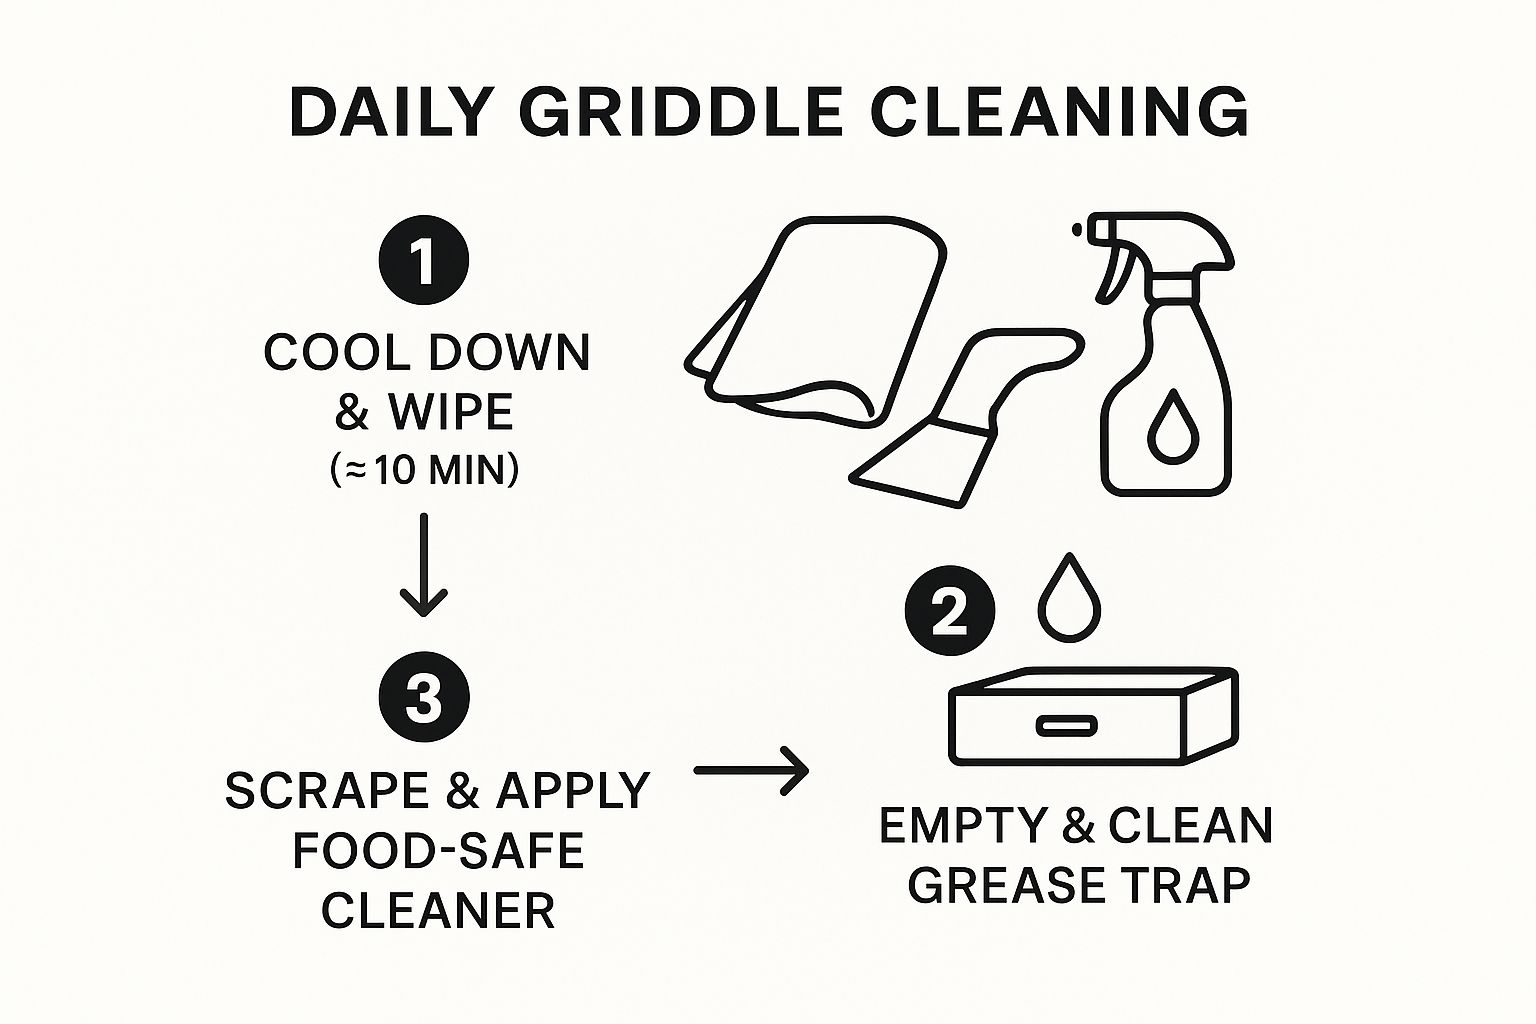
A solid daily routine makes your weekly deep clean that much easier. It's all about preventing the heavy buildup in the first place.
Your Monthly Component Inspection Checklist
Once a month, it's time to play detective. You need to look beyond the cooking surface and give your griddle’s working parts a quick inspection. This isn't just about cleaning; it's about catching small problems before they shut you down mid-service.
This monthly once-over should only take a few minutes. Here’s what to look for:
- Knobs and Dials: Give every knob a little wiggle. Does it feel loose? See any cracks? A busted knob can throw off your temperature control or just snap off in your hand during a rush.
- Pilot Lights (Gas Models): Take a look at the pilot light. You want to see a steady, confident blue flame. If it's weak, yellow, or flickering like a candle in the wind, you might have a gas flow issue or a dirty pilot assembly that needs a technician's touch.
- Electrical Connections (Electric Models): For electric units, give the power cord and any visible wiring a quick visual scan. Check for fraying, melted spots, or cracked insulation. Damaged wiring is a serious fire hazard that needs to be fixed immediately.
- Thermostat Accuracy: Grab an infrared thermometer and check your work. Set the griddle to a specific temp, let it fully heat up, and then measure the surface. If the reading is off by more than 20-30°F, your thermostat might need to be recalibrated or replaced.
Catching a frayed cord or a wonky thermostat early is the difference between a minor repair and a major kitchen catastrophe. This quick check ensures your griddle stays a reliable workhorse, not a ticking time bomb.
The Art of Seasoning Your Griddle Surface

Seasoning a griddle isn't just another cleaning task—it's the foundation of great cooking in any commercial kitchen. This is how you create that perfect, natural non-stick surface that improves flavor and keeps your line moving smoothly. A poorly seasoned griddle means food sticks, rust forms, and your cooks are fighting an uphill battle all day.
So what's happening when you season a griddle? It all comes down to a process called polymerization. You're essentially baking thin layers of oil onto the metal plate at high heat. The oil breaks down and bonds with the porous steel, forming a hard, glass-like coating that's both non-stick and protective.
This step is non-negotiable for brand-new griddles and a lifesaver for older ones you've stripped down for a deep clean. It's how you turn a simple slab of steel into a high-performance cooking machine.
Creating the Perfect Polymerized Layer
Building that slick, black surface takes a little patience and the right kind of oil. The secret isn't to just dump oil on the surface; it's about building up several incredibly thin layers. Each new layer reinforces the last, creating a durable, even finish that will last.
Your choice of oil is make-or-break here. You need something with a high smoke point that can take the heat without burning up. You don't need fancy flaxseed oil, either. These workhorses get the job done just as well in a busy kitchen:
- Canola Oil: Cheap, easy to find, and has a great smoke point.
- Grapeseed Oil: A fantastic choice with a neutral flavor and high heat tolerance.
- Vegetable Shortening: Melts down nicely and builds a really tough seasoning layer.
Stay away from oils like olive oil. Their smoke point is too low, so they'll just burn and get bitter before they have a chance to polymerize, leaving you with a sticky mess. If you want a full A-to-Z guide, check out our post on how to season a new griddle.
The method itself is simple. Start with a totally clean, dry griddle. Rub on a super thin coat of your oil and then wipe off the excess. You want it to look shiny, not slick or pooled. Crank the heat to about 400°F and let it smoke for 15-20 minutes. Then, kill the heat and let it cool down completely. Repeat this whole process three to five times for a bulletproof initial seasoning.
Troubleshooting Common Seasoning Problems
Even if you do everything right, you can still hit a few snags. The most common one I see is flaking, where the seasoning starts peeling off. This almost always happens because the oil was put on too thick, so it couldn't bond properly to the steel underneath.
Another headache is a sticky or gummy surface. That's a dead giveaway that the oil didn't fully polymerize, usually because the griddle wasn't hot enough or didn't smoke for long enough. For both flaking and stickiness, the only real fix is to strip it down and start over.
The fastest way to strip a bad seasoning job is with high heat and a sharp scraper. Get the griddle hot, and you can usually peel away the failed layers. For really tough spots, boiling some water and vinegar on the surface can help dissolve the rest.
Finally, you might end up with patchy, uneven seasoning. This usually comes from hot spots on your griddle or not spreading the oil evenly. When you're wiping on the oil, use a lint-free cloth and be meticulous about getting into every corner. It's a small detail that pays off big time in performance and longevity.
Troubleshooting Common Griddle Failures
No matter how well you maintain your griddle, something will eventually go wrong—usually during the middle of a rush. Knowing how to quickly spot and diagnose the problem can be the difference between a minor hiccup and a full-blown kitchen crisis.
Fixing small issues yourself can save you a bundle on a service call and get your line back up and running in minutes. We’ll walk through the most common griddle headaches, from hot spots that scorch your pancakes to pilot lights with a mind of their own. This will help you know whether to grab a tool or grab the phone.
Diagnosing Uneven Heating and Hot Spots
There’s nothing more frustrating than a griddle with its own weather patterns—hot zones and cold spots that ruin food and throw your timing completely off.
Before you start tearing things apart, check the obvious. On a gas griddle, are all the burners actually lit? Do they have a steady, blue flame? For electric units, give it enough time to fully preheat. Some models just take a while to get the entire surface temperature stable.
If the simple stuff isn't the problem, you might be looking at something deeper:
- Dirty Burners (Gas): Built-up gunk can block the burner ports, choking off the gas flow and creating those dreaded cold spots. Often, a thorough cleaning is all it takes.
- Bad Heating Elements (Electric): If one section of your electric griddle just won't get hot, a burnt-out heating element is the most likely suspect.
- Thermostat Trouble: A faulty thermostat can't read the temperature correctly, leading to wild swings and inconsistent heat all over the cooktop.
Your best friend here is an infrared thermometer. Shoot the entire griddle surface and map out the hot and cold areas. That data is gold, whether you're trying to fix it yourself or explaining the issue to a tech over the phone.
Tackling Pilot Light and Ignition Problems
A pilot light that keeps going out on a gas griddle can bring your entire operation to a screeching halt. More often than not, the culprit is surprisingly simple. A strong draft from an open door, an AC vent, or even a powerful hood fan can be enough to snuff out the flame.
If the air is still, take a close look at the pilot assembly. Is it caked with grease or carbon? A gentle cleaning with a soft brush around the pilot orifice and thermocouple can often work wonders.
But what if the pilot lights, and then dies the second you let go of the knob? That’s a classic sign of a faulty thermocouple. This little safety sensor’s job is to detect the flame and shut the gas off if it goes out. When it fails, it can’t tell the flame is lit, so it just keeps shutting the gas off. Swapping out a thermocouple is a job for a qualified professional.
It's no surprise that the market for commercial kitchen equipment maintenance services is booming, with a projected compound annual growth rate of around 7% between 2025 and 2033. Modern griddles are complex, and the demand for technicians who can fix it is only going up. You can check out the full analysis to learn more about commercial kitchen maintenance market trends. This growth just proves how important it is to know when a problem is out of your hands.
Knowing When to Call a Professional
You can handle a lot of the small stuff, but some issues are immediate red flags. For your own safety and the life of your equipment, you have to know when to stop troubleshooting and call for backup.
Don't hesitate to call a certified technician if you see any of these signs:
- You smell gas: This is non-negotiable. Shut off the gas supply to the griddle right away, clear the area, and call for help. Don't touch anything electrical.
- Visible electrical damage: If you see frayed wires, melted plastic, or burn marks, unplug the unit immediately. That’s a major fire hazard.
- The thermostat is way off: If the actual surface temperature is more than 50°F off from what the dial says, the thermostat or its sensors are shot.
- You suspect an internal problem: Messing with gas valves, internal wiring, or primary heating elements is not a DIY job.
Trying to perform complex repairs on gas or electrical systems without proper training is incredibly dangerous and can cause even more expensive damage. A good pro will get to the root of the problem and ensure your commercial kitchen equipment maintenance is done safely and correctly.
Frequently Asked Griddle Maintenance Questions
Even with a rock-solid maintenance plan, questions are going to pop up. When you're in the middle of a busy service, you need straight answers, fast. We've compiled the most common griddle questions we hear from chefs and kitchen managers to give you a quick-reference guide for those "what if" moments.
Think of this as the expert advice you'd get from a seasoned pro leaning over your shoulder. We'll cover everything from the must-have tools to the subtle signs your griddle is crying out for help.
What Are the Best Tools for Daily Griddle Cleaning?
The right tools are a game-changer. They turn a dreaded end-of-night chore into a quick, satisfying task. You don't need a massive toolbox—just a few key items that can take a beating. Investing in quality gear from the start saves you from accidentally damaging the griddle surface and makes the whole process way more effective.
For a standard steel griddle, these are your workhorses:
- A Heavy-Duty Scraper: Find one with a long handle (to keep your knuckles out of the heat) and replaceable blades. A sharp, straight edge is non-negotiable for lifting gunk without gouging the steel.
- Griddle Bricks or Screens: These are your best friends for scrubbing away that stubborn, baked-on carbon. For the best results, use them on a warm surface with a little oil or a proper griddle cleaner.
- Food-Safe Griddle Cleaner: Don't grab just any degreaser. Always use a cleaner specifically made for griddles. They're formulated to dissolve polymerized grease without leaving behind nasty chemical residues.
Now, if you're working with a delicate chrome griddle, your toolkit is completely different. Never let a griddle brick, steel wool, or anything abrasive touch a chrome surface. You will permanently scratch it. Stick to soft cloths, non-abrasive pads, and a cleaner that's explicitly approved for chrome.
A classic rookie mistake is using the same greasy towel all shift to wipe the griddle down. You're just smearing grease around and creating a fire hazard. Keep a dedicated, clean, damp, and lint-free cloth nearby just for wiping the surface between orders.
How Do I Know if My Griddle Needs Re-Seasoning?
A perfectly seasoned griddle is a beautiful thing—it has a slick, dark, almost non-stick finish. When that surface is dialed in, food slides right off, and cleanup is a snap. But that hardened layer of oil will wear down over time.
You'll start to see a few tell-tale signs that it's time to re-season:
- Food Starts Sticking: This is the most obvious red flag. If your pancakes or hash browns are suddenly grabbing in spots where they used to float, your seasoning layer has failed.
- You See Dull, Dry Patches: A healthy griddle has a consistent sheen. If you see patches that look dull gray or matte, the protective layer has worn through, exposing the raw steel.
- Rust Appears: Any hint of rust means moisture has gotten past the seasoning and is attacking the steel. This usually happens after a really aggressive cleaning or if the griddle wasn't dried and oiled properly.
- The Seasoning is Flaking Off: Seeing little black flakes peel away? That's a sign the original seasoning was put on too thick or didn't bond right. The only way forward is to strip it down and start over.
If you spot any of these problems, your best bet is to strip whatever seasoning is left and build a fresh, solid foundation from scratch.
Can I Use Water to Clean a Hot Griddle?
This is one of the great debates in any kitchen. While using water on a warm griddle is part of a deep-cleaning "boil out," dumping cold water or ice on a ripping-hot griddle is asking for trouble. That extreme temperature change causes thermal shock.
Thermal shock can literally warp, bow, or even crack the thick steel plate of your griddle. A warped griddle will never heat evenly again, and a cracked one is usually a total loss. It's an expensive mistake that's easy to avoid.
So, what's the right way? Always let the griddle cool down to a manageable temperature—think 300-350°F—before you introduce any water. At this temp, the water will sizzle and help lift debris without putting the steel at risk. A little patience here is a core part of proper commercial kitchen equipment maintenance.
How Often Should I Calibrate My Griddle Thermostat?
An accurate thermostat is everything. It's the key to food safety and getting consistent results every time. If your thermostat is off, you're either undercooking proteins or burning everything to a crisp. You should be checking its accuracy at least once a month.
You don't need a technician for this simple check. A basic infrared (IR) thermometer is a cheap and effective tool for the job.
Here’s how to do it:
- Set your griddle to a common cooking temperature, like 350°F.
- Let it preheat for a good 20-30 minutes. You want the entire surface to be fully and evenly heated.
- Use your IR thermometer to take readings from multiple spots across the flat top—the center, all four corners, and the edges.
- Compare the average of your readings to the temperature on the dial.
A little variance of +/- 15°F is usually acceptable. But if you find your griddle is off by 25°F or more, it's time to call a pro to calibrate or replace the thermostat. Ignoring a bad thermostat just leads to wasted food, unhappy customers, and potential safety issues.
Ready to build or upgrade your kitchen with a griddle that’s built to last? Griddles.com offers a curated selection of high-performance commercial griddles designed for the demands of a busy kitchen. Explore our full catalog and find the perfect griddle for your operation at https://griddles.com.