

A Guide to Natural Gas to Propane Conversion for Commercial Griddles
A successful natural gas to propane conversion boils down to one simple thing: having a commercial griddle that was actually designed for it. The job involves swapping out a few key components to safely manage propane’s higher pressure. Get it right, and you unlock some incredible flexibility for your operation, especially if you’re running a mobile kitchen.
Why Convert Your Commercial Griddle to Propane
Before you even think about picking up a wrench, it’s worth taking a minute to understand why this conversion is such a game-changer. For a lot of food businesses, switching from natural gas to propane isn't just a small tweak—it can completely transform where and how you cook.
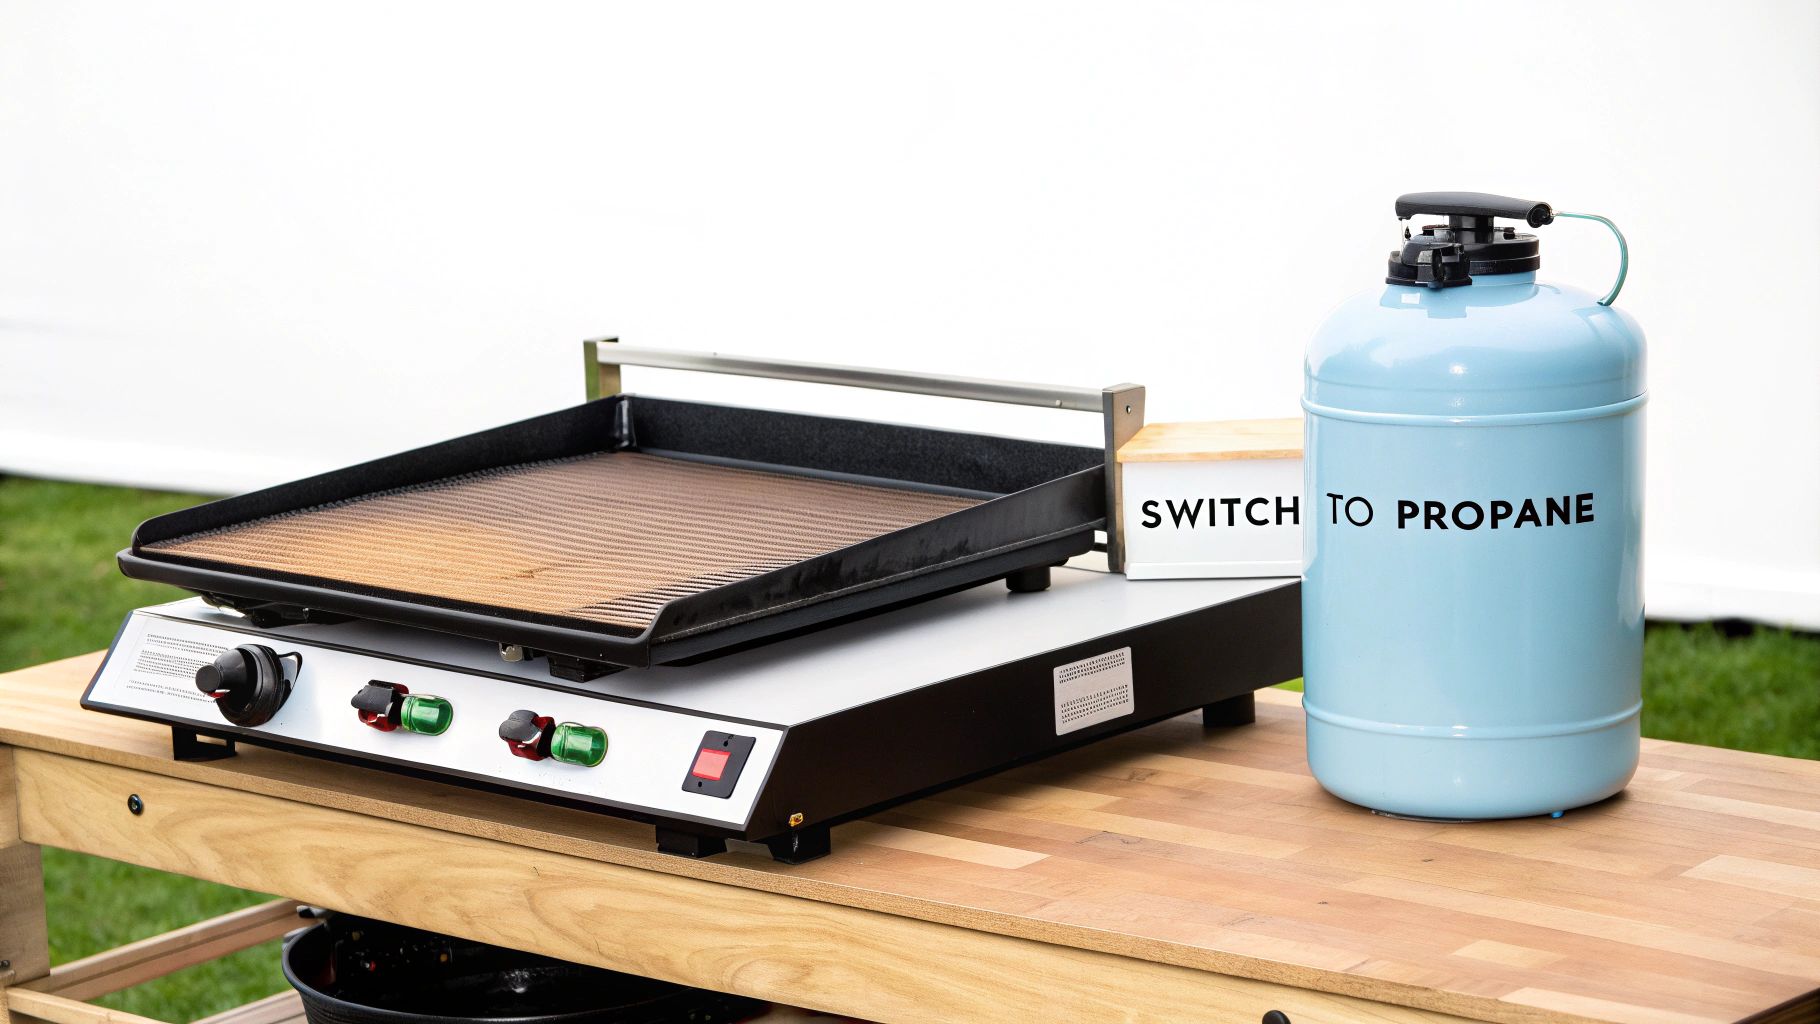
The biggest win here is unmatched portability. Natural gas tethers you to a fixed utility line, chaining your entire kitchen to one spot. Propane, on the other hand, comes in portable tanks, completely cutting that cord. This freedom is everything for food trucks, caterers, and pop-up stands that need to haul their heavy-duty gear to different venues.
Unlocking True Operational Flexibility
Going with propane means your powerful, high-performance griddle can go wherever the customers are. Think about it: slinging breakfast platters at the weekend farmer's market, flipping burgers at a packed music festival, or catering a wedding out in the middle of nowhere. None of that is possible when you're stuck on a permanent gas line.
And this isn't just for mobile setups. A restaurant with a great patio could roll out a griddle station for special summer events without dropping a fortune on running a new, permanent gas hookup.
A Look at Efficiency and Performance
Propane isn't just about being mobile; it has some real performance perks, too. It burns hotter and packs more energy (BTUs) per cubic foot than natural gas. While a proper conversion ensures your griddle runs safely at its intended output, many chefs swear by propane for its responsive, powerful heat that’s perfect for high-volume cooking.
If you really want to get into the weeds on the technical side, check out our full comparison between natural gas and propane for griddles.
Key Takeaway: The number one reason for a natural gas to propane conversion is freedom. It lets you take commercial-grade equipment to places far from any building or utility hookup, opening up brand new ways to make money for mobile and event-based businesses.
The Secret Weapon: Field-Convertible Griddles
The good news is that manufacturers get it. They know you need versatility. That's why so many modern commercial griddles, especially from brands like Atosa/CookRite, are sold as "field-convertible." This just means they were engineered from the ground up to be safely and easily switched between natural gas and propane right on-site.
Better yet, these units almost always ship with a conversion kit right in the box. Inside, you'll find the two essential parts you need:
- Propane Orifices: These are the small brass fittings (sometimes called spuds) with a smaller hole, designed specifically for propane's higher pressure.
- Pressure Regulator: A new regulator calibrated just for propane. This is non-negotiable for ensuring a safe, steady flow of fuel to your burners.
Starting with a field-convertible model makes the whole process way simpler. It turns a complicated job into a manageable task for anyone who's handy with tools, or a quick and easy job for a licensed technician.
Your Essential Toolkit for a Safe Conversion
I’ve seen it happen more times than I can count: a natural gas to propane conversion goes wrong, all because someone tried to wing it without the right gear. Going into this project unprepared is a recipe for frustration and, more importantly, can be seriously dangerous. Think of this section as your pre-flight checklist to make sure everything goes smoothly and safely.
The absolute must-have item is the manufacturer’s propane conversion kit. This isn't just a recommendation; it's a hard rule. These kits are engineered specifically for your griddle model, which is the only way to guarantee every part works together as it should.
What's Inside a Conversion Kit
Propane operates at a much higher pressure than natural gas, and your griddle needs two key parts to handle it correctly. Using the wrong components will lead to huge, uncontrollable flames, poor combustion, and the risk of carbon monoxide.
- Propane Orifices (Spuds): These are small brass fittings with a precisely drilled hole that’s much smaller than the one for natural gas. Their entire job is to restrict that high-pressure propane flow, feeding just the right amount of fuel to the burner.
- Propane Pressure Regulator: This crucial device is calibrated for propane's specific pressure rating (measured in "inches of water column," or WC). It takes the high pressure coming from the tank and steps it down to a safe, steady level that your griddle can handle.
I have to say this plainly: never, ever try to drill out natural gas orifices to make them work for propane. You simply can’t get the precision needed with a hand drill, and you’ll create a massive fire hazard. Always use the manufacturer-supplied parts from the kit.
To help you get everything in one place, here’s a quick checklist of the tools and parts you'll need to have on hand before you begin. Having this stuff laid out and ready will save you a ton of headaches mid-job.
Conversion Toolkit Checklist
| Item | Type/Size | Purpose |
|---|---|---|
| Manufacturer's Conversion Kit | Model-Specific | Includes the essential propane orifices and regulator. |
| Two Pipe or Adjustable Wrenches | 10-inch or larger | Prevents twisting and damaging gas lines by using one to hold and one to turn. |
| Gas-Rated Pipe Thread Sealant | Rated for Propane | Creates a guaranteed leak-proof seal on all threaded connections. |
| Screwdriver Set | Phillips & Flat-Head | Needed for accessing burner assemblies and removing panels. |
| Leak Detection Solution | Soap/Water in a Spray Bottle | Your final, critical safety check to find any potential gas leaks. |
With these items ready, you'll be set for a secure and successful conversion.
The shift toward propane in commercial kitchens isn't surprising—it's efficient, portable, and powerful. The market numbers back this up, with the global propane market valued at USD 88.91 billion in 2024 and projected to hit as high as USD 150 billion by 2035, as detailed in market growth insights on PrecedenceResearch.com.
Of course, a proper conversion is only half the battle. Making sure your new setup is connected correctly is just as critical. For more on that, take a look at our guide on using quick-fit gas connectors for a safe and efficient hookup.
Getting Your Hands Dirty: The Conversion Process
Alright, you've got your kit and your tools lined up. Now it's time for the main event: the natural gas to propane conversion. This is where you need to be meticulous. The absolute first thing you must do—no exceptions—is kill the gas supply. Shut it off at the griddle's valve and then shut it off at the main supply line.
This job is all about swapping out a few key parts to handle the higher pressure of propane. We'll go through getting to the burners, changing out the tiny orifices, installing the new regulator, and dialing in the flame so it burns just right. Don't rush this; a single mistake can cause a dangerous leak or leave you with a griddle that just won't cook properly.
Before you start unscrewing things, here's a quick look at how the process flows.
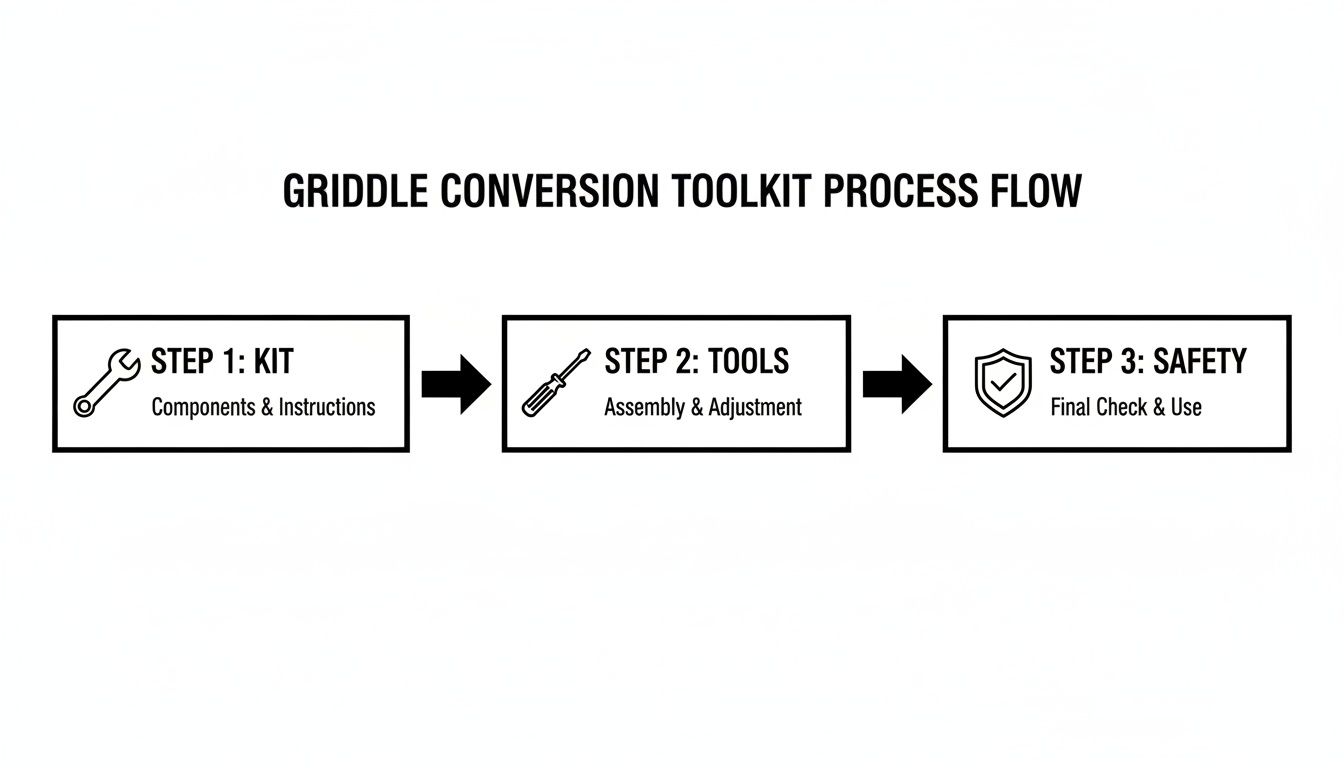
This just shows how important the prep work is. When you have everything ready to go, the final safety checks are just a formality, not a scramble to fix a problem you just created.
Accessing and Swapping the Burner Orifices
The real heart of this conversion is replacing the burner orifices, which some old-timers call spuds. These little brass fittings are the gatekeepers, controlling how much gas gets to the burners. Propane is under more pressure, so it needs a much smaller hole to get the right fuel-to-air mix.
First, you’ve got to get to the burner assembly. On most griddles, this means pulling off the front panel or the panel with the control knobs. Here's a pro tip that has saved me countless times: snap a quick picture of the wiring with your phone before you unplug a single thing. It’ll make putting it all back together a breeze.
Once you can see the burners, you'll find the orifice right where the gas valve feeds into the burner tube. Grab a socket wrench or nut driver and carefully unscrew the natural gas orifice. Go easy—brass is soft and you don’t want to strip it.
Now, find the matching propane orifices in your kit. They'll likely be stamped with a number, and you’ll see that the hole is visibly smaller. Gently thread the new propane orifice in by hand first to make sure it's not cross-threaded, then tighten it until it's snug. Do not over-tighten it, or you risk damaging the threads. Do this for every single burner.
Expert Insight: It’s easy to get into a rhythm and rush, but take your time on each orifice. A poorly seated spud is one of the most common reasons for a gas leak. Make sure each one threads in smoothly before you put a wrench on it.
Installing the New Propane Pressure Regulator
With the new orifices in place, the next critical component is the pressure regulator. A natural gas regulator is designed for very low pressure (about 4" WC) and is completely wrong for propane, which runs closer to 11" WC. Using the natural gas regulator with propane is a serious safety hazard.
You'll usually find the regulator where the main gas line connects to the griddle's manifold pipe. To get the old one off, you’ll need two pipe wrenches. Use one to hold the manifold pipe steady so it doesn't twist, and use the other to unscrew the regulator. This is a crucial step; if you twist that manifold, you could damage the internal gas lines.
Before putting the new regulator on, apply a little bit of gas-rated pipe thread sealant (pipe dope) to the male threads of the manifold. Make sure it's the kind approved for both natural gas and LP gas.
Finally, screw the new propane regulator onto the manifold, again using two wrenches to get it tight. Check for an arrow on the regulator that shows the direction of gas flow—it must be pointing towards the burners.
Adjusting the Burner Air Shutters
With the new parts installed, you need to dial in the air-to-fuel mixture for a clean, efficient flame. You do this with the air shutters, which are small metal collars with openings at the base of each burner tube, right near the orifice.
Loosen the set screw on the shutter so you can rotate it. When you first fire up the griddle (after leak testing, of course!), watch the flames.
- Big, lazy yellow or orange flames? Not enough air.
- Flames "lifting" off the burner or making a loud roaring sound? Too much air.
You're aiming for a steady, mostly blue flame that has just a hint of yellow at the tips. Slowly open or close the shutter on each burner until you get that perfect flame. Getting this right means you’re getting maximum heat and avoiding nasty soot buildup.
Setting the Pilot Lights for Consistent Ignition
The last mechanical tweak is adjusting the pilot lights. Just like the main burners, the pilot flame needs to be set correctly for propane. You should see a small adjustment screw on the pilot assembly, usually near where the little pilot gas tube connects.
After you light the pilot, turn that screw very slowly. You want a small, steady blue flame that’s just big enough to consistently touch the thermocouple or flame sensor. A pilot that’s too big is just wasting fuel, but one that’s too small might go out or fail to ignite the main burner.
- Flame Too High: It'll be noisy, maybe hiss, and could have yellow tips.
- Flame Too Low: It will look weak and might flicker out easily.
- Just Right: A quiet, stable blue flame that makes solid contact with the sensor.
Remember, none of these adjustments matter if your gas supply line isn't up to the task. To learn more about making sure your plumbing can handle the demand, check out our guide on how to choose the correct natural gas line size for your equipment; many of the same principles apply to propane. A properly sized line prevents pressure drops that could starve your pilots right in the middle of a dinner rush. Nail these adjustments, and your griddle will run safely and reliably for years.
Performing Critical Safety and Leak Checks
Alright, you’ve swapped the orifices, wrestled the new regulator into place, and put the griddle back together. It might feel like you're at the finish line, but let's be clear: the single most important part of a natural gas to propane conversion is what comes next. Before you even dream of firing up that beautiful flat top, you absolutely must check every single fitting you touched for leaks.
This is the one step you cannot afford to rush or, worse, skip. Remember, propane is under significantly more pressure than natural gas. That means a tiny gap you wouldn't even notice can become a major hazard. This final check is your guarantee that the griddle is 100% safe and ready for the daily grind. If you want to get a better handle on what you're looking for, there are some great guides on how to detect gas leaks out there.
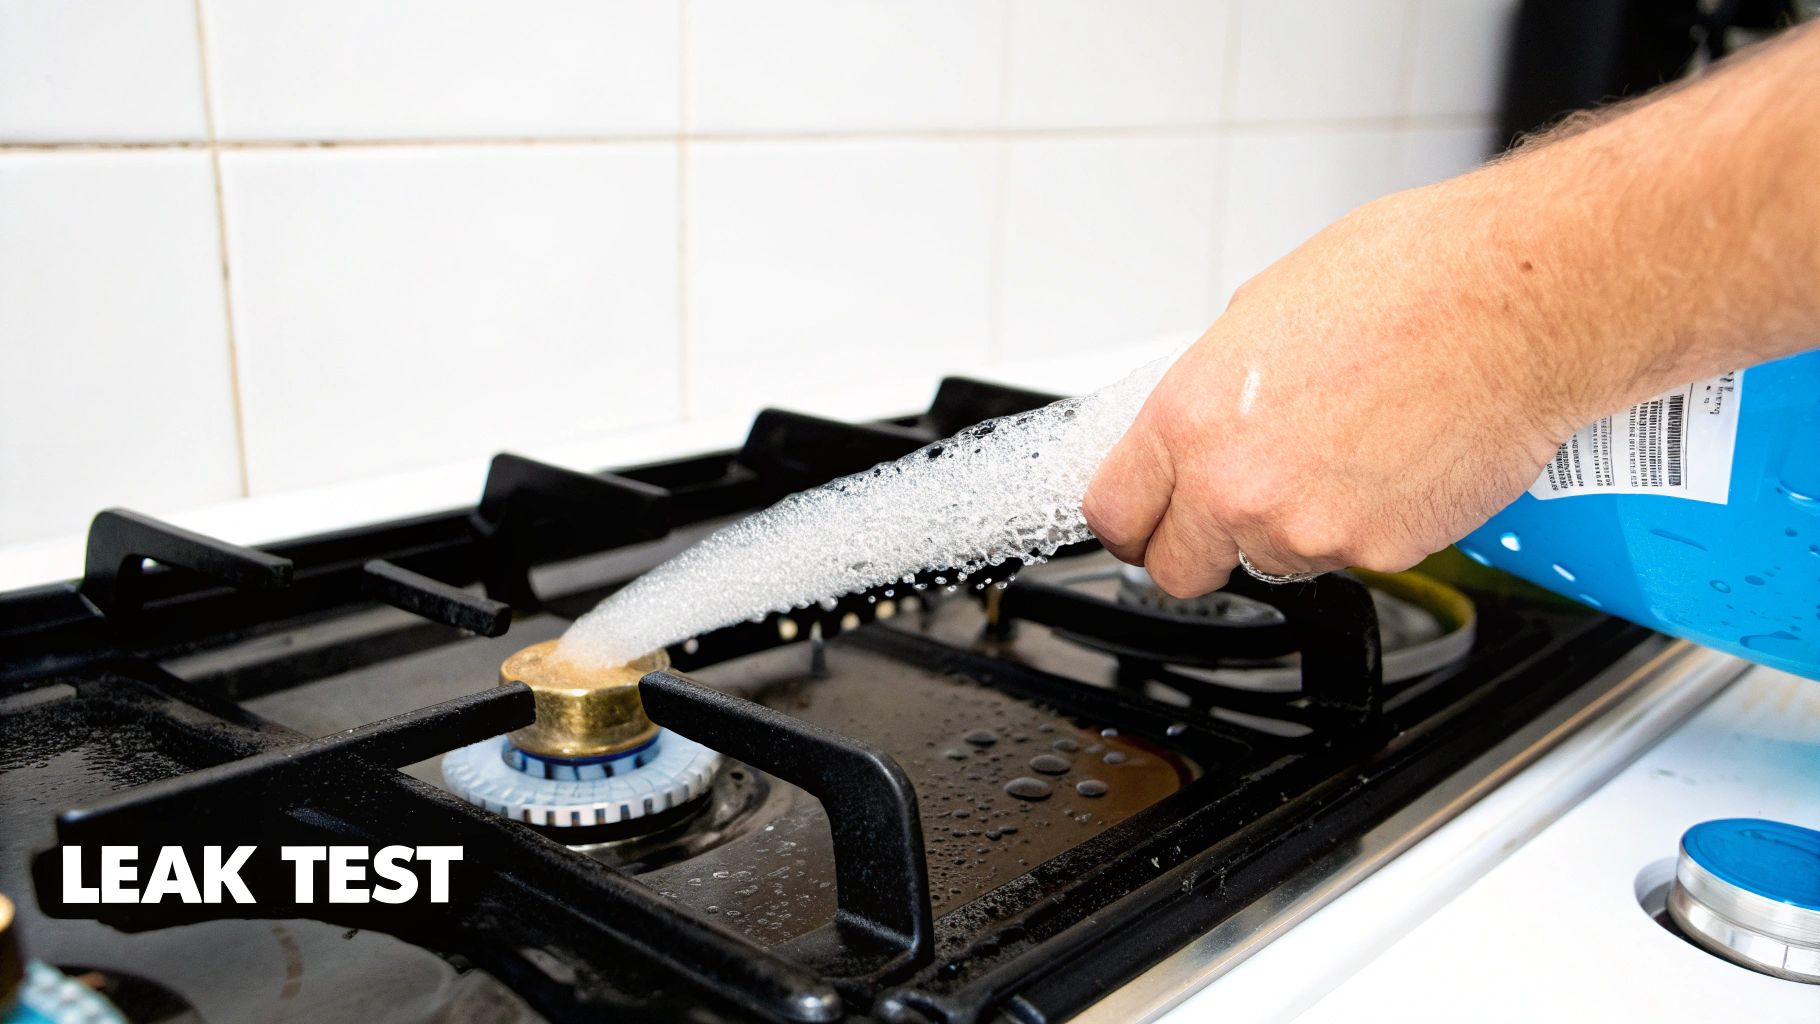
The Soapy Water Test: Simple and Unbeatable
Forget about fancy electronic sniffers. The most reliable tool for this job is something you can whip up in seconds with stuff you already have in the kitchen. This old-school method is incredibly effective at spotting even the most microscopic of leaks.
Here's all you need to do:
- Grab a spray bottle or a small bowl. A spray bottle works best, as it lets you hit your target without soaking everything else.
- Mix up some dish soap and water. A ratio of about one part soap to five parts water is perfect. You're looking for a solution that's sudsy enough to make bubbles easily.
- Give it a gentle swirl. Don't shake it like a cocktail; you want a soapy liquid, not a bottle full of foam.
With your leak-finder solution ready to go, make sure you have some decent ventilation, and let's get testing.
Applying the Solution and Spotting Leaks
Okay, it’s time. With the main valve on your propane tank turned ON but the griddle’s control knobs still safely in the OFF position, you can start the test.
Generously spray or brush your soapy solution onto every single fitting and joint you worked on during the conversion. Be thorough.
Pay extra close attention to these spots:
- Where the new pressure regulator connects to the griddle's manifold pipe.
- The fitting that joins the main propane hose to the regulator.
- Any other threaded connections in the gas line you might have loosened.
Now, watch closely. If you see bubbles forming, growing, or frothing at any of these connections, you've got a gas leak. It's an unmistakable sign, and it means gas is escaping.
Crucial Safety Note: If you see bubbles, stop immediately. A leak, no matter how small, is a serious fire and explosion risk. Do not proceed until it's fixed.
What to Do If You Find a Leak
Seeing bubbles can be a bit unnerving, but don't panic. The fix is usually pretty simple if you act methodically.
Here are your immediate next steps:
- Kill the Gas Supply. Go straight to the main valve on your propane tank and shut it off completely. This cuts off the fuel and removes the immediate danger.
- Tighten the Leaky Fitting. Using your two wrenches—one for leverage and one to turn—give the leaky connection another quarter-turn. The idea is to create a tighter seal without over-torquing and stripping the threads.
- Retest. Turn the gas back on at the tank and apply your soapy solution to the same spot again. Watch carefully for any new bubbles.
If the bubbling is gone, you’re golden. The connection is secure.
If it still bubbles after tightening, shut the gas off again. You’ll likely need to take the fitting apart, clean the threads, reapply your pipe sealant, and reassemble it. Then, test it one more time. If that doesn't solve it, it's time to put the tools down and call a licensed gas technician.
Knowing When to Call a Professional Gas Technician
There’s a real satisfaction in handling a job yourself, but when you're talking about a natural gas to propane conversion, knowing your limits is the most important tool you can have. Your safety, your kitchen's integrity, and even your business license are on the line. Even though field-convertible griddles are designed to make this job manageable, some red flags mean it's time to put down the wrench and call a pro.
The most obvious one? A gas smell. If you smell gas at any point after hooking up the propane, kill the supply immediately and ventilate the area. This isn't something to troubleshoot on your own; it's a clear signal to get a licensed technician on the phone, period.
Red Flags You Cannot Ignore
Even without a gas odor, other signs can tell you the conversion didn't go right. A positive leak test is a big one. If you’ve tightened a connection but still see bubbles popping up in your soapy water test, resist the urge to just crank on it harder. You can easily strip the soft brass threads and turn a small leak into a major problem.
The flame itself tells a story, too. After you’ve adjusted the air shutters, you're looking for stable, mostly blue flames. If you’re seeing flames that are:
- Persistently yellow or orange: This is a classic sign of incomplete combustion. It’s not just inefficient; it’s creating soot and dangerous carbon monoxide.
- Lifting off the burner ports: This means the gas pressure is likely too high or the air mixture is way off, leading to an unstable and unsafe flame.
- Making a loud roaring or whistling sound: Another tell-tale sign of a bad air-to-gas ratio that needs an expert’s touch to calibrate properly.
A Word of Caution: Never, ever run a griddle that’s putting out sooty, yellow flames. It's more than just a mess—it's a serious health and safety hazard. This is a non-negotiable stop sign. Time to call for professional help.
When Regulations Make the Decision for You
Sometimes, the choice is taken out of your hands by local laws. Many cities and counties have codes that mandate any work on commercial gas appliances be performed by a licensed and certified gas technician. This is almost always the case for permanent installations. Ignoring these rules can lead to failed health inspections, voided insurance claims if something goes wrong, or even legal trouble.
Ultimately, your own gut feeling is the final decider. If your griddle isn't clearly marked as "field-convertible" by the manufacturer, or if you feel the least bit unsure at any point, hiring a pro is the smartest move you can make. If the job involves touching existing natural gas lines or running new connections, you absolutely need a qualified professional. You can learn more about finding a reliable PG&E OQ certified gas line trenching company to ensure the work is done to code.
Propane is becoming a more popular choice for kitchens, and for good reason. Natural gas liquids (NGLs) production has been on the rise in 2024, with propane output jumping 6.4% to 63.3 million metric tons. For kitchen managers, this points to a stable and growing supply. You can see more details on these production figures on Poten.com. A professional will make sure your griddle is set up to safely and efficiently tap into this reliable fuel source.
Common Questions About Griddle Gas Conversions
Even after you've tightened the last fitting and checked for leaks, it’s natural to have a few questions rolling around in your head. Getting the details right on a natural gas to propane conversion is about more than just getting the flame right—it's about keeping your kitchen, your staff, and your customers safe.
Let's walk through some of the questions we hear all the time from operators. Answering these now can save you a world of trouble down the road and lock in those good safety habits.
Can I Convert Any Commercial Griddle?
This is the big one, and the answer is a hard no. You can only convert a griddle if the manufacturer specifically designed and labeled it as "field-convertible." That little phrase is your golden ticket—it means the unit was engineered from the ground up to run safely and efficiently on either fuel, as long as you use the right parts.
Trying to force a conversion on a griddle that isn't built for it is asking for trouble. We're talking about serious risks: gas leaks, dangerously high flames, or even carbon monoxide poisoning. The internal parts—from the valves to the burner design—are calibrated for just one type of gas.
Expert Tip: Before you even think about buying a griddle or grabbing your tools, find the data plate or pull up the manufacturer's spec sheet. If you don't see the words "field-convertible," stop right there. It's not convertible, and there are no safe shortcuts.
What Happens If I Use the Wrong Orifice Size?
This is probably the single most common—and most dangerous—mistake people make. That little brass fitting, the orifice (or "spud"), isn't just a random part. It's a precision-drilled component that dictates exactly how much gas hits the burner. Since propane packs a much bigger punch (higher pressure) than natural gas, it needs a much, much smaller hole to flow through.
Getting this wrong can go sideways in a hurry.
- Using a Natural Gas Orifice with Propane: This is a recipe for disaster. The oversized hole will let a huge volume of high-pressure propane gush out, creating massive, sooty yellow flames. It's a fire hazard that can wreck your griddle and fill your kitchen with carbon monoxide.
- Using a Propane Orifice with Natural Gas: This won't cause a fire, but it will render your griddle useless. The tiny opening starves the burner for fuel. You'll get a weak, pathetic flame that can barely stay lit, let alone cook a burger.
The orifice size isn't a suggestion; it's a critical safety spec. Always use the exact parts that came in the manufacturer's conversion kit. No exceptions.
How Often Should I Inspect My Griddle’s Gas Connections?
Once your griddle is converted and tested, the job isn't quite done. A busy kitchen is a rough environment—things get moved, bumped, and rattled around, and all that vibration and heat can loosen fittings over time. Think of gas line inspections as part of your routine maintenance, just like cleaning the grease trap.
A simple visual check and a soapy water test should be part of your regular schedule.
Recommended Inspection Frequency
| Inspection Type | Frequency | Key Areas to Check |
|---|---|---|
| Quick Visual Check | Daily | Glance at the gas hose. Look for any cracks, kinks, or signs of wear and tear. |
| Full Leak Test | Monthly & After Moving | Do a full soapy water test on every connection from the tank to the appliance. |
| Professional Inspection | Annually | Get a licensed gas technician to give your whole system a once-over. |
This isn't about being paranoid; it's about being professional. For a high-volume food truck or a bustling diner, these checks are just as vital as wiping down the flat top at the end of a shift.
Ready to equip your kitchen with a powerful, field-convertible griddle designed for flexibility? At Griddles.com, we specialize in top-tier commercial griddles from brands like Atosa/CookRite that come with the conversion kit included. Explore our full collection and find the perfect model for your operation at https://griddles.com.