

How to Clean a Commercial Griddle the Right Way
If there's one golden rule for cleaning a commercial griddle, it's this: never clean a cold surface. You'll waste time and energy scrubbing. The real secret is to work with a hot griddle, somewhere in the 300-350°F range. At that temperature, grease and stuck-on food lift off with almost no effort, protecting your griddle plate and making the daily clean-down a breeze.
The Secrets to a Pristine Griddle Surface
In any busy kitchen, the flat-top griddle is the undisputed MVP. It’s the engine behind the breakfast rush, the sizzle for lunch service, and an absolute essential for dinner. Keeping this workhorse in prime condition isn't just about passing a health inspection—it's about the efficiency of your line, the quality of your food, and protecting your investment.
A dirty griddle is a lazy griddle. That caked-on carbon and old grease acts like an insulator, messing with heat distribution. You end up with frustrating hot and cold spots, which is why one burger gets a perfect sear while another is still raw in the middle. More importantly, consistent cleaning stops small annoyances from snowballing into expensive, service-killing problems.
Why Consistent Cleaning Is Non-Negotiable
Think of daily griddle care as preventative maintenance. In the high-stakes world of commercial cooking, this simple routine is a game-changer for the lifespan of your equipment. Industry data from getresq.com shows that flat-top grills have a stellar First-Time Fix Rate (FTFR) of 84.5%. This means when a technician is called, they can usually fix the issue on the first visit if the equipment has been properly maintained.
Regular cleaning prevents these small issues from ever needing a service call in the first place. When you let it slide, you’re asking for trouble:
- Flavor Contamination: Nobody wants their pancakes to taste like last night’s onions. Old food particles will absolutely transfer unwanted flavors.
- Wasted Energy: A thick layer of carbon forces your griddle to work harder to maintain temperature, which means a higher energy bill for you.
- Major Safety Risks: An overflowing grease trap isn't just a mess—it’s a serious fire hazard and a slip-and-fall waiting to happen.
Before we dive into the nitty-gritty of cleaning, let's get back to basics. A great griddle surface starts with a proper seasoning, which builds a natural, non-stick layer that makes both cooking and cleaning easier. If you’re working with a new griddle or restoring an old one, mastering the seasoning process is your first move. For a complete walkthrough, check out our guide on how to season a new griddle.
Here’s a quick-glance table to keep your team on the same page. It breaks down the essentials for keeping that griddle in top shape.
Griddle Cleaning at a Glance
| Element | Best Practice | Why It Matters |
|---|---|---|
| Temperature | Clean at 300-350°F | Heat loosens grease and food, requiring less force and fewer chemicals. |
| Tools | Use a griddle scraper, pumice stone, and non-abrasive pads. | The right tools remove buildup without scratching or damaging the surface. |
| Grease Trap | Empty and clean daily, or more often if needed. | Prevents overflow, which is a significant fire and slip hazard. |
| Seasoning | Apply a thin layer of oil after every deep clean. | Protects the metal from rust and maintains the non-stick cooking surface. |
This isn't just a checklist; it's a recipe for consistency and quality.
The goal isn't just to scrub the griddle clean—it's to preserve its cooking surface for the long haul. A well-seasoned, properly maintained griddle plate performs better, lasts longer, and cooks more consistently. This isn't just another closing task; it's a fundamental kitchen skill.
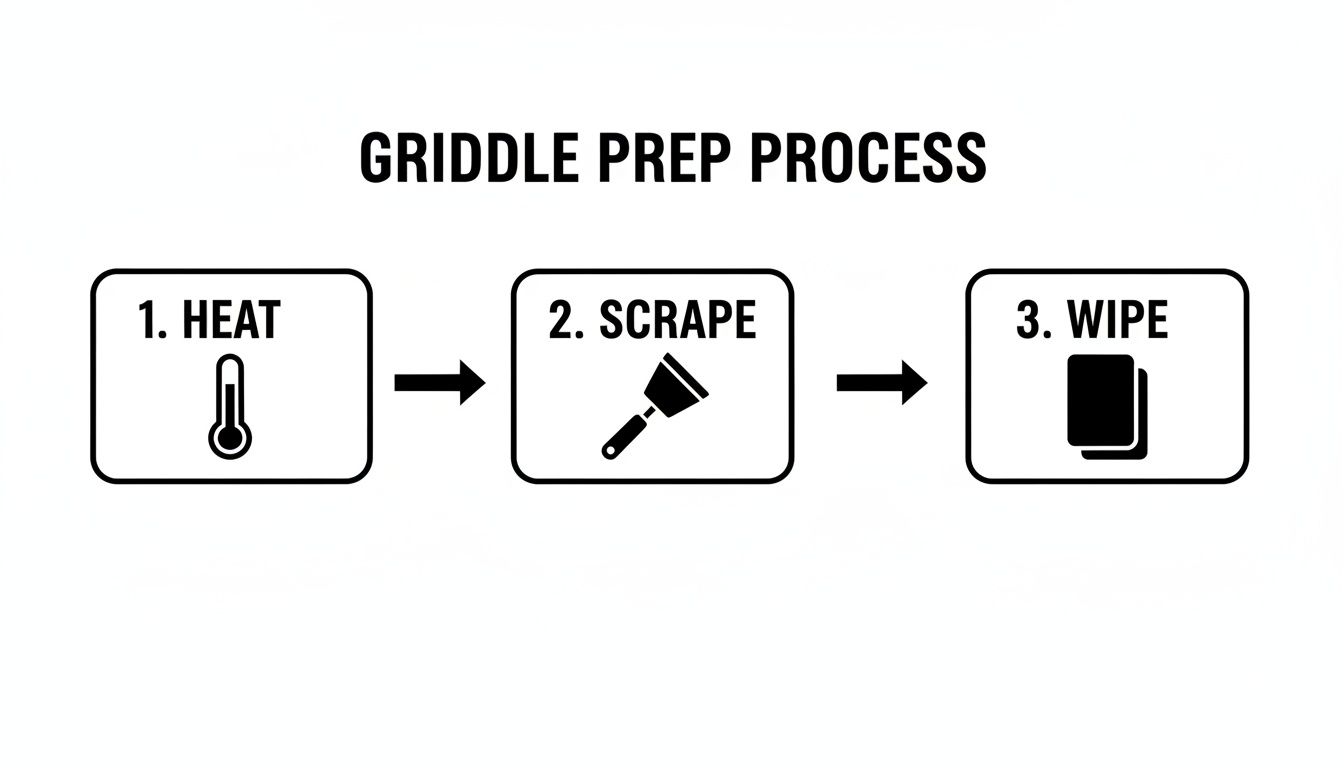
Mastering Your Daily Griddle Cleaning Routine
If there's one thing that separates the pros from the amateurs, it's a non-negotiable daily cleaning routine. This isn't something you put off until Friday; it’s the end-of-shift ritual that keeps your griddle humming and your food tasting great. Spend 10-15 minutes on it now, and you'll save yourself hours of scrubbing hardened carbon later.
The secret to making it easy? Work smart, not hard. The entire process hinges on cleaning the griddle while it's still warm. Your sweet spot is a surface temperature between 300-350°F. At this temp, grease and food bits are soft and practically wipe away. Trying to clean a cold griddle is just asking for a fight.
The Initial Scrape Down
First things first, grab your scraper. While the griddle is still hot, angle that blade and push all the leftover food debris and grease pools straight into the grease trap. I like to work from the back towards the front trough using firm, even strokes. This quick pass gets rid of the major mess and preps the surface for the real cleaning.
Don't skip this. This is how you avoid having your breakfast pancakes taste faintly of last night's burgers. If you're not sure what tool to use, we've got a whole guide on picking the perfect flat top grill scraper.
As you can see, keeping the heat right is the foundation. It makes every other step ten times easier and more effective.
Applying Your Cleaning Solution
With the big stuff gone, it's time to tackle the stubborn residue. Pour a bit of warm water or a food-safe griddle cleaner onto the hot surface. You want to hear that sizzle—it means the steam is working its magic, lifting and dissolving all that baked-on grime.
Now, get scrubbing. Use a griddle pad on a long-handled holder (to save your hands) or a griddle brick. Work across the whole plate with steady pressure in a circular motion. You're aiming to lift any remaining carbon without scratching up the metal.
Let's be clear: daily cleaning isn't just about looks. It’s a core food safety practice. Experts agree that this simple habit can prevent up to 90% of bacterial cross-contamination—a problem that plagues an estimated 70% of kitchens with lax maintenance. For a high-volume diner, this daily scrape and re-oil is what keeps the surface non-stick and ready for the next rush.
The Final Wipe and Re-Seasoning
After a good scrub, use your scraper or a squeegee to push all the dirty liquid and gunk into the grease trap. Next, grab a clean, damp, lint-free cloth and give the surface a thorough wipe-down. You might need to rinse the cloth and repeat this a couple of times until the griddle is spotless and free of any cleaning solution.
Here’s the most important part: re-seasoning. While the griddle is still warm and clean, apply a very thin layer of cooking oil. A clean cloth is perfect for spreading it evenly until you have a nice, protective sheen. This simple step prevents rust and builds up that beautiful non-stick patina every chef loves.
And don't forget the grease trap! That needs to be removed, emptied, and washed every single day. An overflowing trap is a serious fire hazard and a slip-and-fall waiting to happen.
This same disciplined approach should apply to all your equipment. A solid commercial maintenance checklist is your best friend for keeping the whole kitchen in top shape. Stick to this griddle routine, and I guarantee it will pay you back with better performance, a longer lifespan, and safer service.
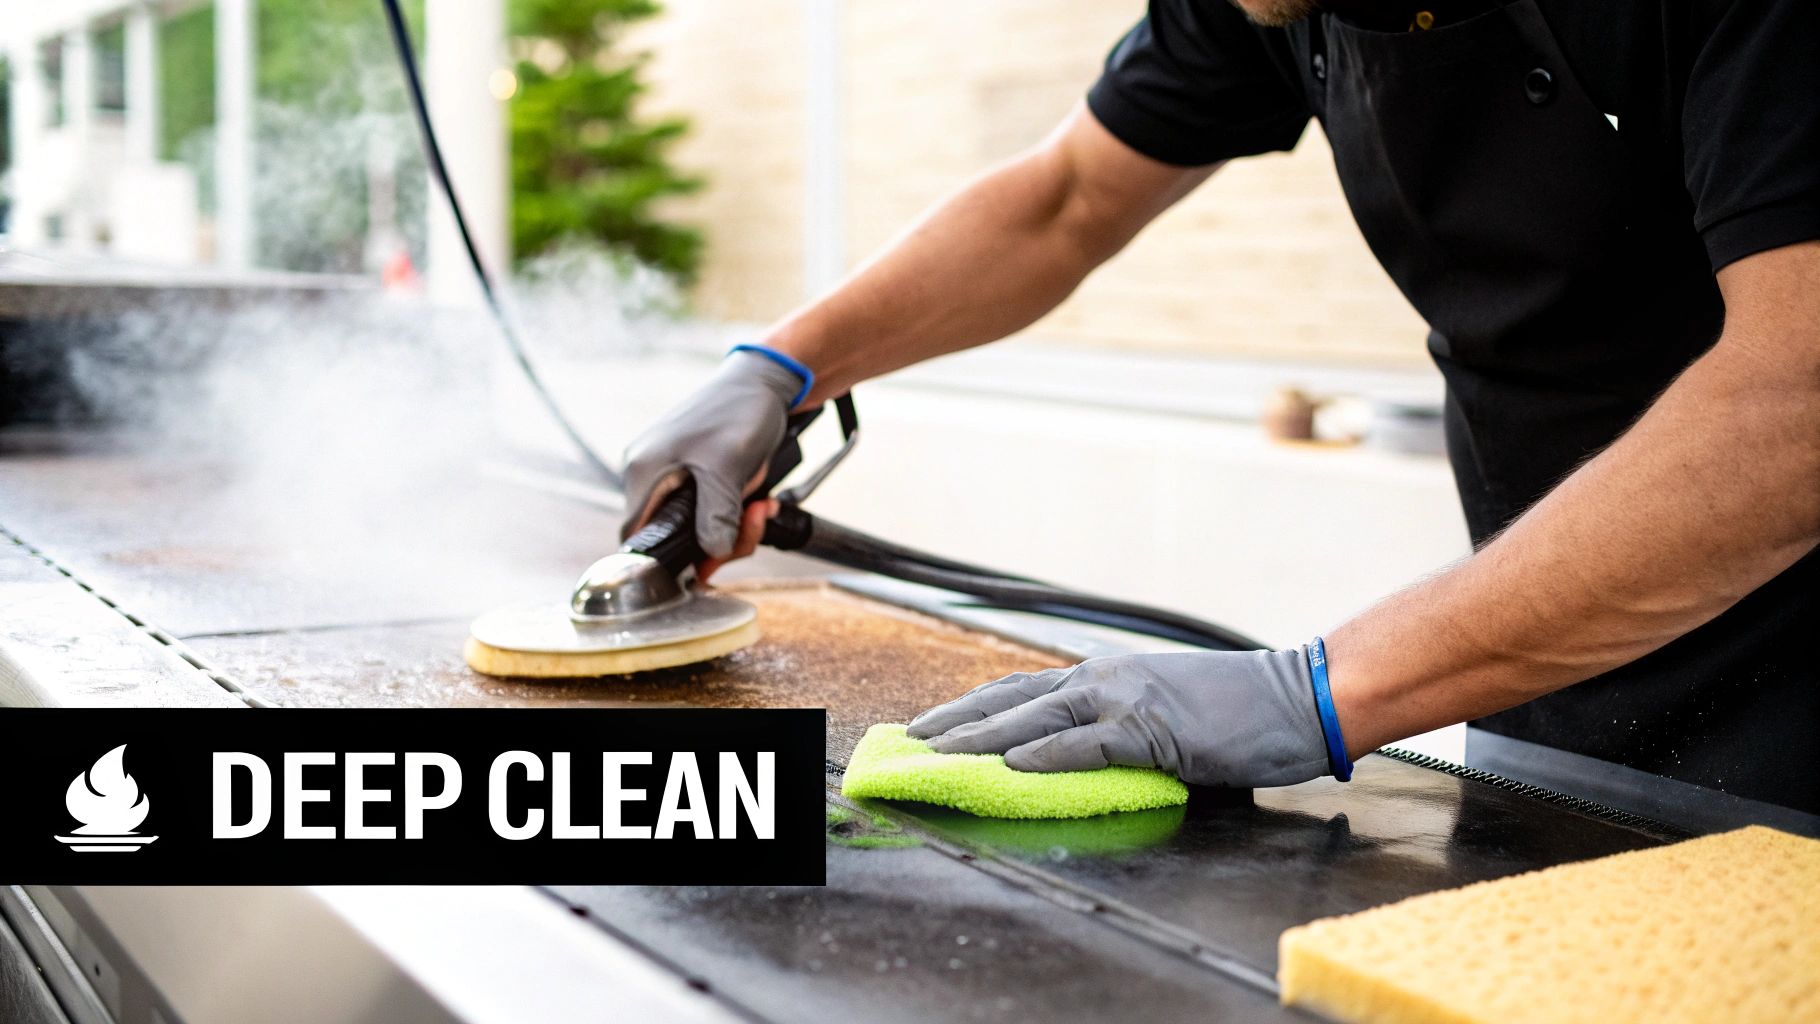
Executing a Deep Clean for Peak Performance
Daily wipe-downs are non-negotiable for basic hygiene, but the weekly or bi-weekly deep clean is where you really bring your equipment back to life. This is your chance to demolish that stubborn, baked-on carbon and restore your griddle plate to a near-factory finish. Think of it as essential preventative maintenance that pays you back in food quality and the griddle's own lifespan.
Unlike the quick end-of-day scrape, this is a more involved process. It takes the right tools and a little bit of elbow grease. Here, you'll break out the serious stuff—griddle screens, polishing pads, and a potent, food-safe degreaser—to strip away everything that doesn't belong, without damaging the cooking surface itself.
This isn’t just about aesthetics. A thick crust of carbon acts as an insulator, creating nasty hot spots that burn food and cold spots that slow you down. It forces the griddle to work harder, cranking up your energy bill just to maintain temperature.
The Right Temperature for a Deep Clean
Just like with the daily routine, heat is your best friend. A moderately hot surface, somewhere around 300-350°F, is the sweet spot. This temperature is hot enough to activate your cleaning agents and loosen carbonized grease, but not so hot that everything evaporates on contact.
Too cold, and your cleaner won't do much of anything. Too hot, and you'll get a cloud of smoke and a sticky residue. Nailing that temperature range makes the whole job faster and more effective.
The most common mistake we see in kitchens is a failure to manage temperature during the cleaning process. Chefs get impatient and either work on a scorching hot surface or a cold one, both of which are ineffective and potentially dangerous. Nailing that 300-350°F range makes the entire job faster and safer.
Assembling Your Deep Cleaning Toolkit
For a proper deep clean, you need to go beyond the daily scraper. Having the right tools on hand turns a dreaded chore into a smooth, efficient process. Each piece of your kit has a specific job in tackling that heavy-duty grime without wrecking your investment.
Your core arsenal should include:
- Griddle Screens: These are your primary weapon against thick carbon layers. They're abrasive and incredibly effective, but you need to use them with a careful hand, especially on standard steel.
- A Pad Holder: This is a non-negotiable safety tool. It's a long-handled holder for your screen or pad that keeps your hands far from the hot surface while giving you the leverage you need to scrub properly.
- Polishing Pads: After the abrasive screen does its job, a polishing pad helps smooth out the surface and bring back a bit of its original sheen.
- Food-Safe Degreaser: Grab a high-quality, non-toxic liquid made specifically for griddles. These are formulated to dissolve grease without leaving behind any harmful chemical funk.
- A Squeegee: A sturdy, heavy-duty squeegee is perfect for pushing the dirty slurry of water, cleaner, and grime off the surface and into the trough.
Common but Costly Cleaning Mistakes to Avoid
Even with the best intentions, it's surprisingly easy to cause permanent damage to your griddle. The number one culprit? Thermal shock. This happens when you hit the hot griddle plate with an extreme, rapid temperature change, causing the metal to warp and buckle.
Pouring cold water or—even worse—ice onto a hot griddle is the fastest way to induce thermal shock. We've seen it happen time and again. Data suggests this practice leads to warping in 25-30% of cases, particularly with the thick one-inch plates on most commercial units. A warped griddle is a dead griddle; it will never heat evenly again, and the only fix is an expensive replacement. Always use warm or room-temperature water.
Proper cleaning temperature isn't just about effectiveness; it's about efficiency. Following best practices for foodservice equipment prevents the kind of damage that kills performance and shortens an appliance's life. You can learn more about maintaining foodservice equipment from SoCalGas to see how small habits make a huge difference.
Another critical error is using the wrong tool for the job. Never, ever use steel wool on your griddle. It will gouge the surface, creating deep scratches that are hard to clean and can trap bacteria. Worse, it can leave behind tiny metal fragments that rust and could even end up in your food. Stick to tools made for the task, like pumice-style griddle bricks or the recommended screens. The goal is to remove the carbon, not the griddle plate itself.
Cleaning Different Griddle Surfaces: Steel vs. Chrome
Knowing how to clean your commercial griddle isn't a one-size-fits-all skill. The material your griddle plate is made of completely changes the game—it dictates the tools, the techniques, and frankly, the entire mindset you need to have. The two heavy hitters in commercial kitchens are old-school steel and modern chrome, and if you treat them the same, you're asking for a damaged, underperforming griddle.
Understanding this difference is everything when it comes to protecting your investment. For instance, taking a griddle brick to a chrome surface is like using sandpaper on a mirror; you're going to cause permanent damage. On the flip side, if you're too timid with a thick steel plate, you'll never defeat the carbon buildup that kills its performance.
Let's dig into the right way to handle each one.
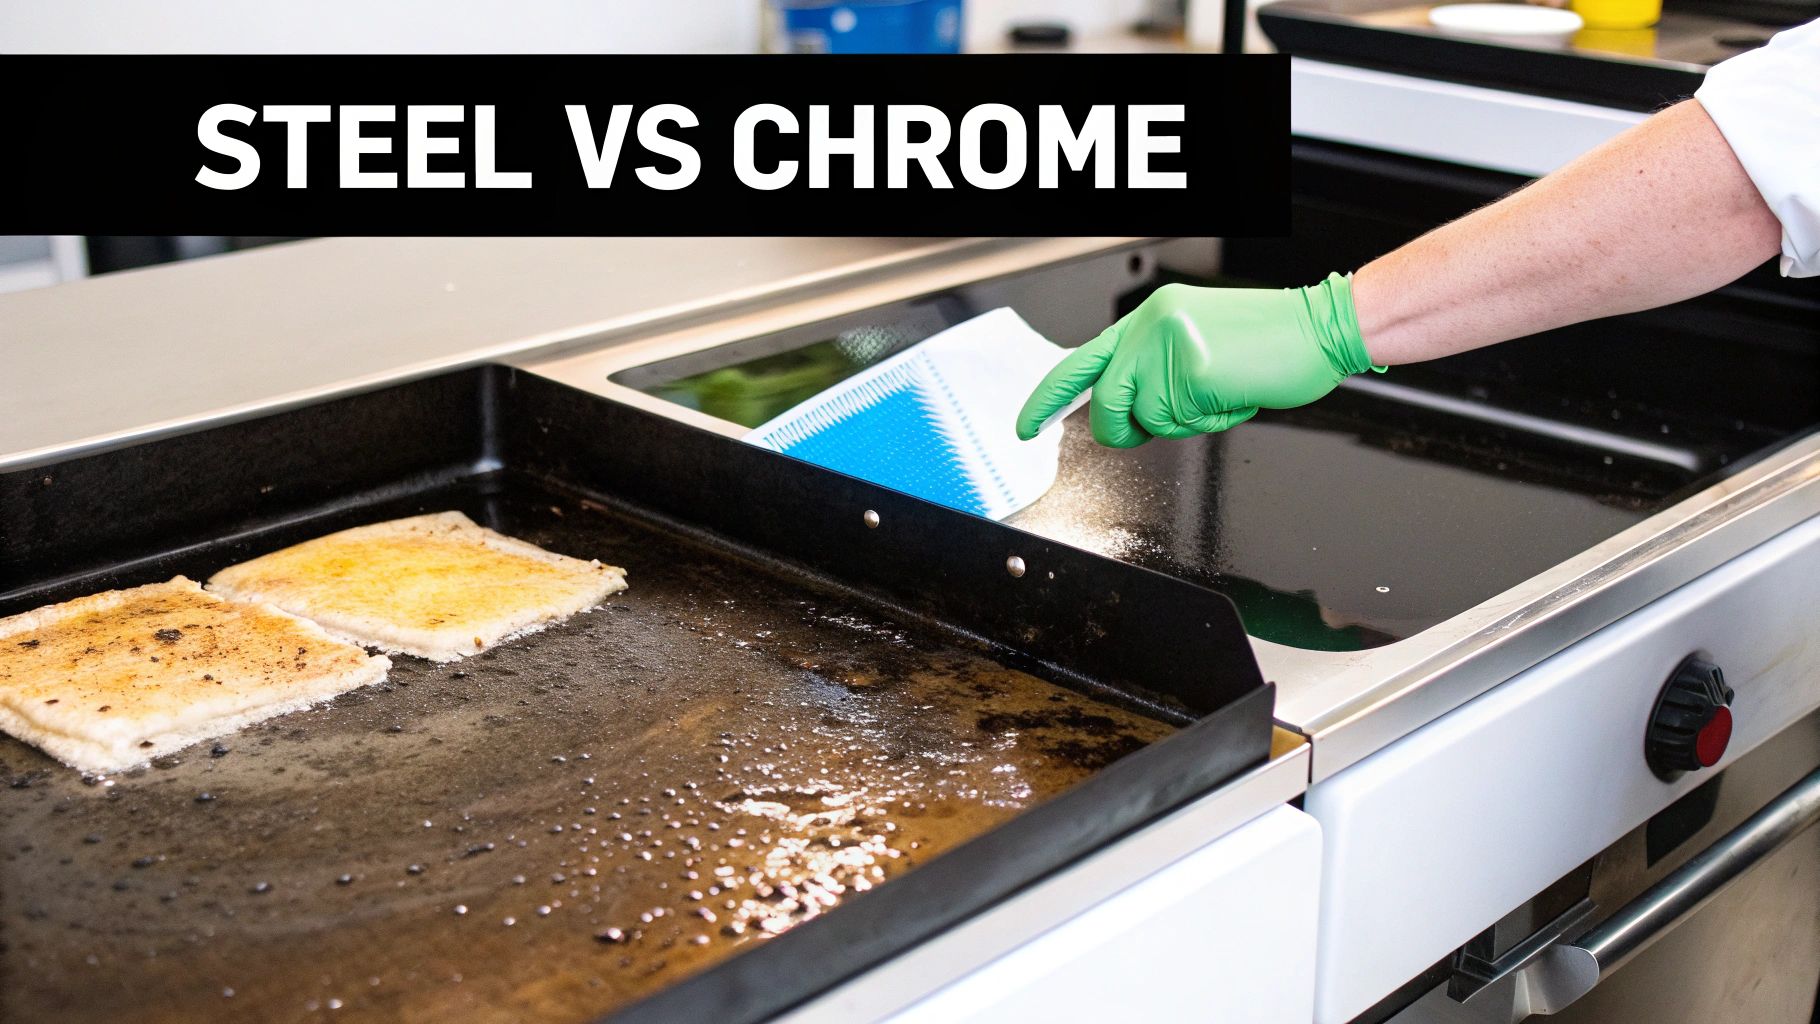
Caring for Standard Steel Griddles
Steel griddles are the workhorses of the industry for a reason. They're tough, budget-friendly, and hold heat like a champ. The secret to a perfect steel surface is its seasoning—that baked-on layer of oil that creates a naturally non-stick finish. Your entire cleaning routine should be built around protecting and maintaining that crucial layer.
After you've scraped down the hot surface (aim for 300-350°F), you'll almost always find stubborn carbon spots. This is where your griddle brick or pumice stone earns its keep. Squirt a little oil on the warm surface to act as a lubricant, then gently work the brick over those tough spots. Always move with the grain of the metal to avoid gouging it.
Once the gunk is gone, wipe the surface with a damp cloth, dry it completely, and immediately apply a fresh, thin layer of cooking oil. This final step isn't optional. It shields the raw steel from rust and builds up that all-important seasoning for the next service. And for the stainless steel components around your griddle, remember that they need their own specific care. You can get more detailed advice in our guide to the best commercial stainless steel cleaner.
The Gentle Touch for Chrome Griddles
Chrome griddles are all about that beautiful, non-porous, mirror-like finish. They transfer heat incredibly well and don't hold onto flavors, making them a top pick for open kitchens where looks matter. But that delicate surface is also their Achilles' heel. Chrome is a plating, not solid metal, and once you scratch it, there’s no repairing it.
Never, ever use abrasive tools on a chrome griddle. That means no griddle bricks, no pumice stones, no steel wool, and no aggressive scrapers. These tools will permanently scratch and dull the surface, ruining its non-stick properties and ironically making it harder to clean over time.
Cleaning chrome is a job for finesse, not force. While the griddle is still warm (around 300°F), use a soft cloth or a non-abrasive pad with warm water to gently lift away the grease. If you run into slightly tougher spots, you can carefully use a plastic or soft-metal scraper specifically made for chrome surfaces.
After you've loosened the residue, grab a squeegee and pull all the dirty water and debris straight into the grease trap. The final wipe-down is key for a streak-free shine. Use a clean, damp microfiber cloth, and then immediately follow it with a dry one to polish the surface. Some brands suggest a food-safe polish, but honestly, a simple water-and-wipe method is usually all it takes to keep it gleaming.
Steel vs Chrome Griddle Cleaning Guide
To make the differences crystal clear, here’s a quick head-to-head comparison of the cleaning methods.
| Cleaning Aspect | Steel / Stainless Steel Griddle | Chrome Griddle |
|---|---|---|
| Primary Tools | Griddle scraper, griddle brick/pumice stone, tough pads. | Soft cloths, non-abrasive pads, squeegee, specialized scrapers. |
| Abrasives | Yes. A griddle brick is essential for heavy carbon buildup. | Absolutely Not. Abrasives will permanently damage the chrome plating. |
| Cleaning Agent | Oil and water. Some detergents are acceptable if rinsed thoroughly. | Primarily warm water. Food-safe polish can be used if recommended. |
| Post-Clean Finish | Must be re-seasoned with a thin layer of oil to prevent rust. | Wipe dry with a clean cloth to prevent water spots and streaks. |
At the end of the day, the best way to clean your griddle is to respect the material it’s made from. Match your technique to the surface—aggressive and seasoning-focused for steel, gentle and protective for chrome. Do that, and your equipment will perform reliably for years to come.
Troubleshooting Common Griddle Cleaning Issues
Look, even if you run the tightest ship in the kitchen, griddle problems are going to pop up. It’s just the nature of the beast in a high-volume spot. This isn't about bad habits; it's the reality of pushing out hundreds of orders.
The key is knowing how to fix these things on the fly. Being able to diagnose and handle common issues yourself saves you a ton of cash on service calls and—more importantly—keeps you from getting slammed with downtime during a dinner rush.
Most of the time, issues like stubborn carbon or a sticky cooktop come down to small blips in the cleaning routine. The great news? They're almost always fixable with the right approach. Let's get into what you'll actually see on the line and how to deal with it.
Tackling Those Stubborn Carbon Spots
We've all been there. You see those dark, almost petrified patches of gunk that just laugh at your scraper. That's polymerized carbon and grease that has literally baked itself onto the steel plate. It's not just ugly; it wrecks your heat distribution and gives you an uneven cook.
When your daily scrape-down isn’t making a dent, you need to bring out the big guns—and I don't mean a harsh chemical. Just whip up a thick paste with baking soda and a bit of warm water. You want it to be about the consistency of toothpaste.
- Get the griddle warm, around 200°F, and apply the paste directly to the carbon spots.
- Just let it sit for 10-15 minutes. The alkalinity in the baking soda will do the heavy lifting, breaking down that stubborn carbon.
- Now, go at it with a griddle brick or a good non-abrasive scouring pad. You’ll be surprised how much easier that carbon lifts off.
- Finish with a thorough rinse using warm water and a squeegee, then dry it and get a quick layer of seasoning back on that spot right away.
This trick works wonders for standard steel griddles. But a word of caution: never, ever try this on a chrome surface. The abrasion will scratch and ruin the finish permanently.
Fixing a Sticky Surface or Flaking Seasoning
Pancakes suddenly sticking? Seeing little black specks on your eggs? That's a screaming signal that your seasoning layer is compromised. This can happen if something acidic, like tomato sauce or lemon juice, sits on the griddle for too long, or if someone used soap and didn't rinse it off properly.
When the seasoning is flaking or sticky, you’ve got to hit the reset button. Trying to patch it up won’t work. You have to strip it all the way down and start over.
Don't just cook over a damaged seasoning layer. You're only adding new grease on top of a failing foundation, which will lead to more sticking and flavor transfer. A full strip and re-season is the only real solution to fix the problem for good.
First things first, get that plate down to the bare metal. While it’s warm, use your griddle brick with a generous amount of oil and scrub the entire surface. Your mission is to remove every last trace of that old, blackened seasoning. Once it’s completely stripped, give it a meticulous clean with warm water, dry it thoroughly, and then start the re-seasoning process from scratch with thin layers of oil.
Diagnosing and Solving Uneven Heating
If you're noticing cold spots or one side of the griddle is blazing hot while the other is lagging, the problem usually isn't on the cooking surface. The real culprit is almost always hidden grease buildup underneath the plate, caked around the burners or heating elements.
This gunk is a massive heat insulator, blocking the energy from reaching the griddle plate properly. It’s also a serious fire hazard. To fix it, you'll need to shut the unit down and let it cool completely. Then, following your manufacturer's guide, safely get under the plate and give those burners or elements a thorough cleaning. You'd be amazed how often this simple fix brings your griddle's performance right back to factory-fresh.
Answering Your Top Griddle Cleaning Questions
Even with the best instructions, you're going to have questions pop up during a busy service. We get it. Here are the most common ones we hear from kitchen crews, with quick answers to get you through those tricky situations.
How Often Should I Deep Clean My Commercial Griddle?
There's no magic number here—it all boils down to how hard you run your griddle and what you’re cooking. The real goal is to get ahead of that tough, black carbon buildup before it becomes a weekend-long project.
A 24/7 diner pumping out greasy hash browns and burgers is a completely different beast than a quiet cafe serving lean chicken for lunch. You have to pay attention to your menu. Sugary glazes, sticky marinades, and high-fat meats will build up gunk way faster.
- High-Volume Kitchen (like a 24-hour diner): You're looking at a deep clean at least once a week. No getting around it.
- Medium-Volume Kitchen (think busy lunch/dinner spot): Every 1-2 weeks is a solid baseline.
- Low-Volume Kitchen (a small cafe or deli): You can probably stretch it to every 2-3 weeks or even once a month.
Is It Okay to Use Soap on a Steel Griddle?
This one trips up a lot of people, and the answer is a hard no. Dish soap is designed to obliterate grease, which is the last thing you want on a properly seasoned steel griddle. It will strip away that beautiful, non-stick layer you've worked so hard to build, leaving the raw metal exposed to rust and making everything stick.
Stick to oil and a good griddle brick for the tough jobs. The only place soap belongs is on the surrounding stainless steel parts, like the backsplash or side rails. Just make sure you rinse it off completely so none of it drips onto the cooking plate.
What's the Best Way to Re-Season a Griddle?
Re-seasoning is how you bring back that slick, non-stick surface. It's a simple process, but it takes a little patience to do it right. Once your griddle plate is scrubbed clean and bone-dry, you're ready to go.
First, get the griddle warm—not scorching—to about 300-350°F. Drizzle on a small amount of a high-smoke-point oil (canola or plain vegetable oil works great). Grab a clean, lint-free cloth and spread that oil into a paper-thin, even layer across the entire surface. You're going for a light sheen, not an oil slick.
Now, let the griddle cook until the oil starts to give off a little smoke. That's polymerization—the oil is literally bonding to the steel. Once the smoking stops, let it cool down slightly, then wipe on another thin layer and repeat the process two or three more times. That’s how you build a tough, durable, non-stick finish.
Can I Use Ice to Clean a Hot Griddle?
Please, for the love of your equipment, don't do this. I know the "ice trick" looks cool, but it's one of the fastest ways to destroy a professional griddle. When you dump ice or cold water on a hot griddle plate, you cause thermal shock. The metal contracts violently and unevenly.
This sudden temperature change can permanently warp or even crack your griddle plate. A warped griddle is a nightmare—it will never heat evenly again, leading to hot and cold spots that ruin food. The only fix for a warped plate is an expensive replacement.
Scraping while the griddle is still hot or using room-temperature water are much safer and more effective ways to clean without risking your investment. And while this guide gives you the know-how to handle things yourself, some businesses find peace of mind with professional restaurant cleaning services for keeping everything up to code.
Ready to upgrade or build out your kitchen line? At Griddles.com, we specialize in providing high-performance, reliable equipment designed for the demands of a busy commercial kitchen. Find the perfect griddle for your operation today!