

Cleaning Commercial Griddle: Pro Tips for Your Restaurant Kitchen
Before a single patty sizzles on that steel, your whole strategy for cleaning commercial griddle surfaces comes down to one thing: having the right tools ready to go. Being prepared is what turns a nasty, greasy chore into a quick, manageable routine. It’s all about building an arsenal that can handle anything from a mid-rush wipe-down to a full-on, end-of-night deep clean.
Assembling Your Griddle Cleaning Arsenal
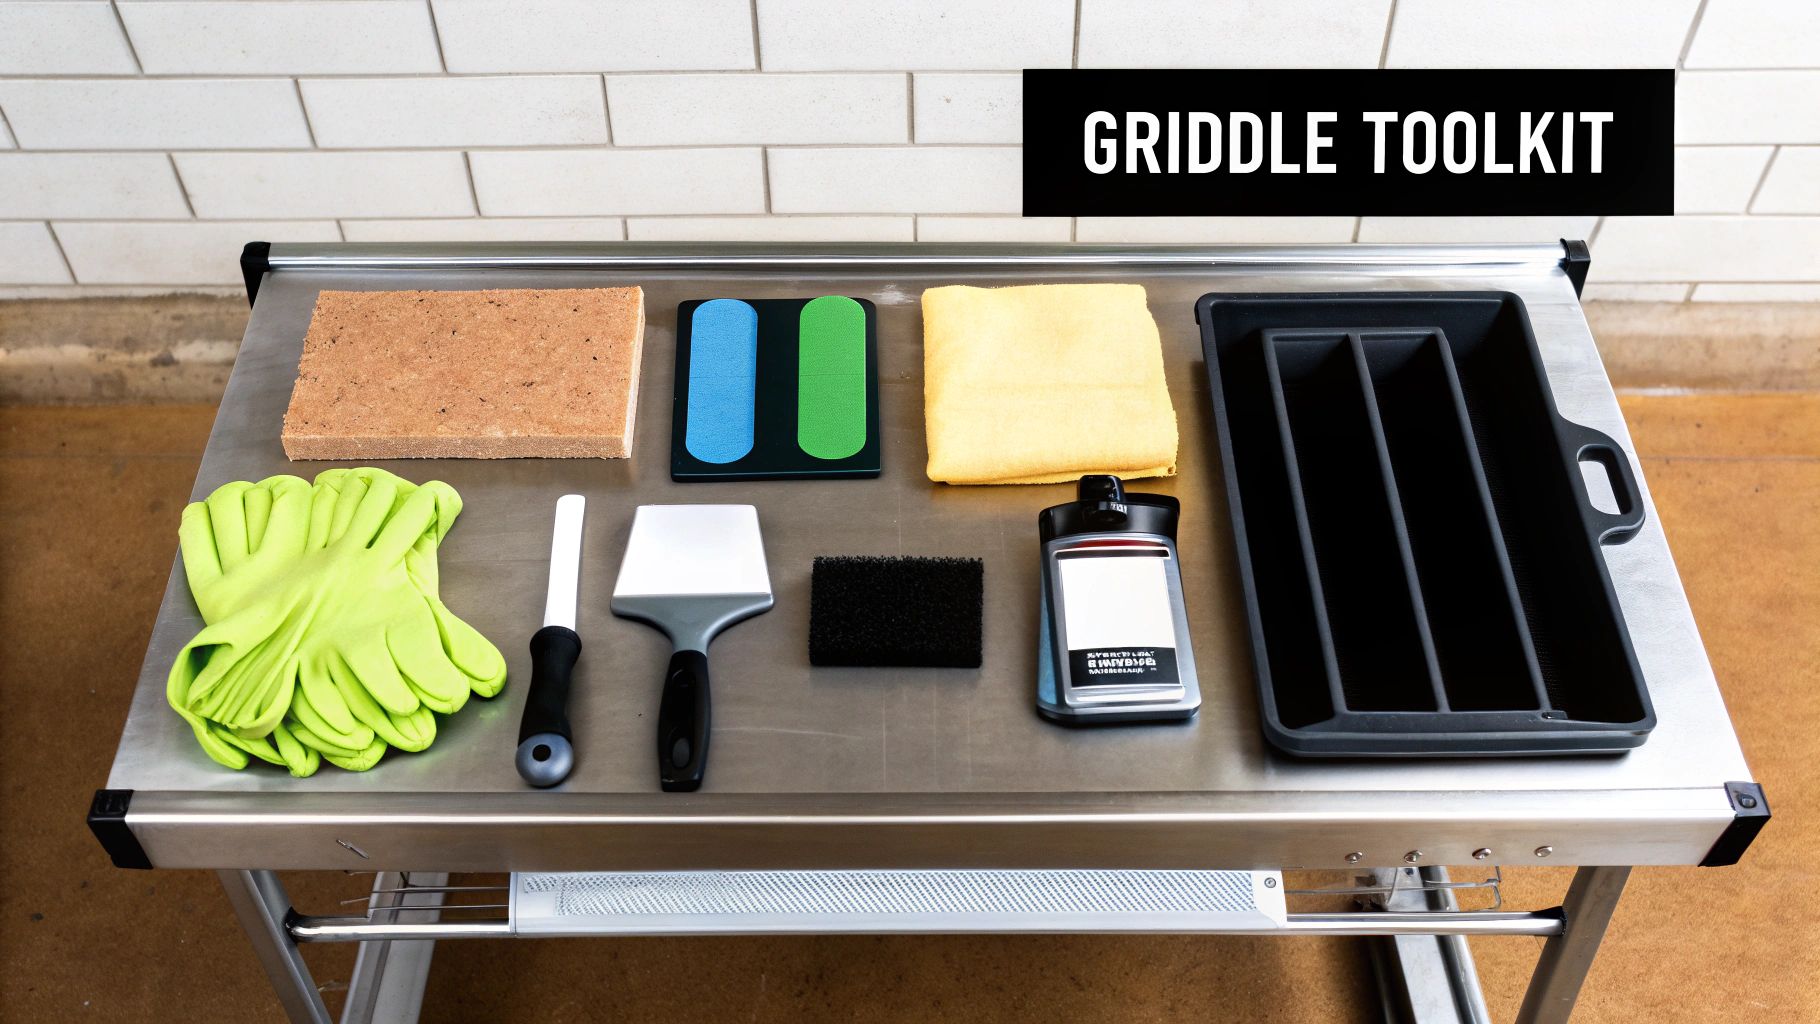
Think of your griddle cleaning kit in tiers. You wouldn’t use a heavy-duty griddle brick for a small spill, and a damp cloth isn’t going to touch the carbon buildup after a slammed Saturday service. The secret is matching the right tool to the right job. It's faster, more effective, and protects the surface of your expensive commercial equipment.
For those quick cleanups between orders, a solid griddle scraper is your absolute best friend. Get one with a long handle. This lets your crew quickly clear away food bits and excess grease from a hot surface without getting dangerously close to the heat. It’s a simple move that prevents flavors from mixing—nobody wants their pancakes tasting like last night's burgers—and it makes the final cleanup way less painful.
Core Tools For Daily Cleaning
When that last ticket is gone, it’s time to switch gears for the daily clean. This is when you bring out the workhorses of your kit.
- Griddle Pad and Holder: This is non-negotiable. A non-abrasive scouring pad on a long-handled holder lets you scrub the warm surface with your cleaning solution without any risk of burns.
- Squeegee: After scrubbing, a good griddle squeegee is key. It pulls off all the leftover liquid and cleaning gunk, leaving the surface dry, clean, and streak-free for the morning shift.
- Grease Trap Scraper: You need a small, dedicated scraper or even a tough putty knife just for the grease trap. Cleaning this out properly is a critical fire prevention step that can't be skipped.
The Heavy Hitters For Deep Cleaning
Sometimes, daily cleaning just can't cut through the really stubborn, carbonized gunk. That's when you need more power. A griddle brick or griddle stone is the ultimate weapon for this fight. You use it on a warm, oiled surface to literally grind away those baked-on layers, restoring the steel without gouging it. If you're serious about your kitchen, you need one.
A well-kept griddle is about more than just hygiene—it's about performance. A clean cooktop means even heat transfer, which translates to consistent cooking and better energy efficiency. A neglected griddle creates hot spots and will ruin food.
Essential Protective and Cleaning Agents
Let’s be clear: safety is always number one when cleaning a hot, greasy piece of commercial equipment. Heat-resistant gloves are an absolute must-have to protect your staff's hands from the hot steel and any chemicals. Splash goggles are also a smart move to keep hot grease or cleaning solutions out of their eyes.
When you're building out your toolkit, you'll want to invest in products that really work. Get the job done faster by finding the best grease cleaner designed for commercial kitchens. For a complete list of what you should have on hand, check out our guide on essential cleaning supplies for restaurants. Getting your kitchen properly equipped from day one makes keeping that griddle spotless an easy part of your daily rhythm.
The Daily Griddle Upkeep Routine
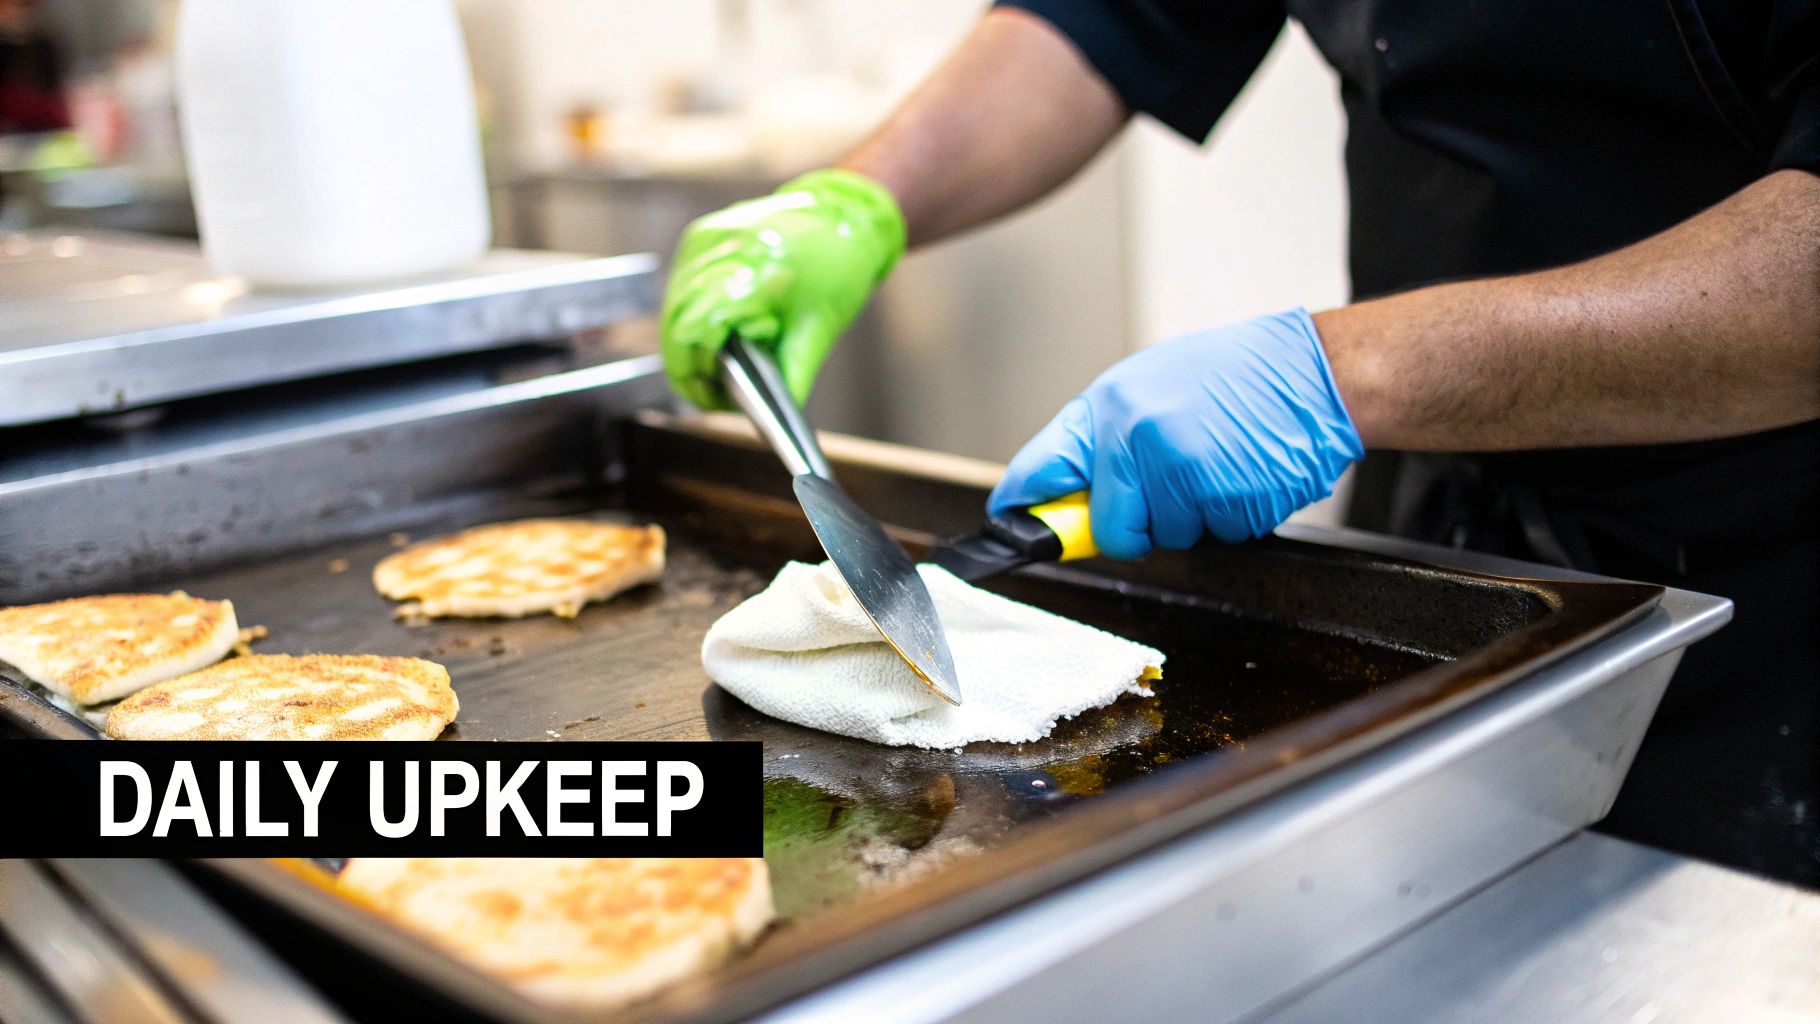
If you want your commercial griddle to last and perform, consistency is everything. The real secret isn't some marathon deep-clean once a month—it's the small, disciplined habits your team follows every single shift. This daily upkeep stops grease from baking into rock-hard carbon, protects the flavor of your food, and makes the end-of-day shutdown clean a whole lot faster.
At its core, this is all about the 'clean-as-you-go' mindset. We're not talking about stopping service to scrub the flattop. It's about weaving quick cleaning tasks into the natural rhythm of the kitchen, making it part of the cooking process itself, not some separate chore.
Mastering the Mid-Shift Scrape
One of the best habits to build is scraping the griddle between orders. After a run of smash burgers or a pile of bacon, you've got leftover grease and food bits. If you just leave them there, they'll burn onto the hot surface, creating a sticky, uneven cooking area that will taint the next dish with burnt flavors.
A line cook with a long-handled scraper can pull all that gunk into the grease trough in just a few seconds. The trick is to use firm, even pressure—you're not trying to gouge the steel. This quick move keeps the cooktop ready for the next ticket and dramatically cuts down on the buildup you'll have to deal with later.
The Power of the Quick Wipe-Down
Beyond scraping, a quick wipe-down is a game-changer. While the griddle is still warm, wiping the surface with a clean, damp cloth is surprisingly effective. This simple action prevents that sticky residue that leads to hot spots and off-flavors.
You’d be amazed at the impact. A daily wipe-down routine can slash grease buildup by up to 50%. In busy kitchens, this translates to huge savings. Cleaner surfaces mean less stress on grease traps, which helps mitigate fire risks—a shocking 60% of kitchen fires start from grease buildup. We've seen operators who enforce this daily habit get more life out of their commercial griddles and even see an energy efficiency bump of 10-15% because the heat distributes so much better.
Real-World Scenario: The Diner Breakfast Rush
Picture a busy downtown diner during the 7 AM to 10 AM breakfast rush. The griddle is slammed with pancakes, eggs, and bacon. The lead cook has a system: after every few tickets, they give the surface a quick two-second scrape. This stops sugary pancake batter from burning onto the spot where the next batch of home fries is going. It’s a seamless part of their workflow that guarantees every plate goes out tasting clean and consistent, even at peak volume.
Building a Lasting Daily Habit
Making these small steps a non-negotiable part of your kitchen's SOP is the goal. Don't just tell your staff to do it; explain why it matters—for food quality, for the life of the equipment, and for making their own closing duties easier. To keep things comprehensive, make sure your daily griddle routine fits into a broader equipment preventive maintenance checklist.
A well-kept griddle heats evenly, uses less energy, and flat-out produces a better product. This daily upkeep is the foundation of any solid cleaning commercial griddle strategy, turning a dreaded chore into a simple, manageable part of every day.
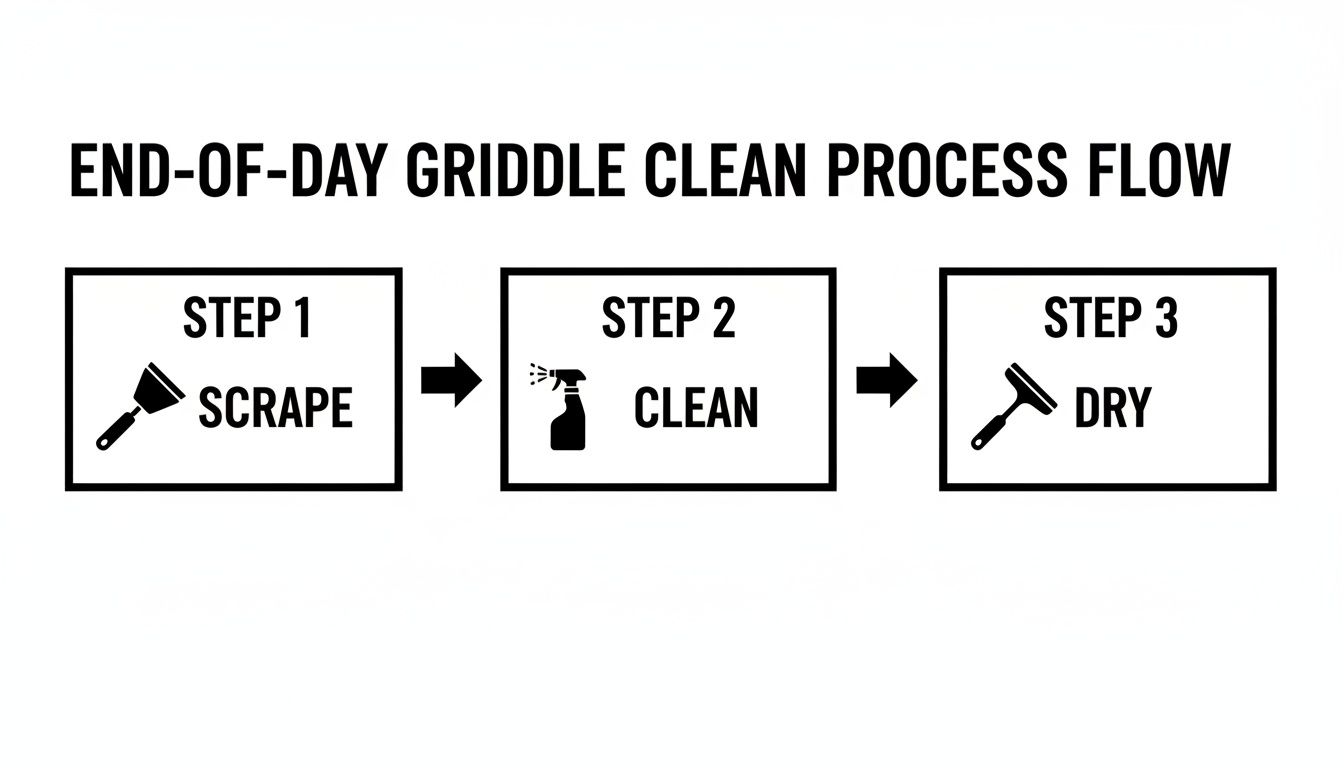
Executing the End-of-Day Shutdown Clean
The last order is out, the kitchen starts to quiet down, and now the real work to protect your griddle begins. That end-of-day clean is more than just a task on a checklist; it's your frontline defense against the carbon buildup, grease residue, and rust that can kill a griddle's performance.
Getting this right is all about timing. You can’t attack a griddle that's still ripping hot, but if you wait for it to go completely cold, you'll be fighting a losing battle against hardened grease. The sweet spot is letting it cool down to about 300°F to 350°F. At that temperature, the heat is still your ally—it keeps grease soft and loose, but it's cool enough that you won't risk thermal shock, which can warp the steel plate.
The Initial Scrape and Debris Removal
First thing's first: clear the battlefield. Grab a long-handled scraper and get to work, pushing all the leftover food bits and solidified grease straight into the trap. Be firm and methodical. This first pass is non-negotiable—it gets the heavy lifting out of the way so your cleaning solution can go to work on the actual surface grime.
With the big stuff gone, it's time for your cleaning agent. For most commercial steel flat tops, a little bit of warm water or a food-safe griddle cleaner is all you need. Pour it over the warm surface. You're listening for a gentle sizzle, not an angry hiss. That sizzle is the sound of success; it means the heat is helping lift that stuck-on crud right off the plate.
Mastering the Griddle Screen and Squeegee
Now, pick up your griddle pad holder armed with a fresh griddle screen or polishing pad. This is the tool that lets you put some muscle into it without getting burned. Work in steady, overlapping circles or back-and-forth passes to cover every square inch.
Don't forget the corners and edges—that's where carbon loves to hide. The screen is designed to be just abrasive enough to scour away the grime without putting scratches in your steel.
I’ve seen new cooks grab steel wool and go to town, thinking they're doing a great job. All they're really doing is creating tiny scratches that will trap food, cause rust, and ruin the cooktop over time. Stick with the right tool for the job; a griddle screen is designed for this exact purpose.
After a solid scrub, you're ready for the finish. A good griddle squeegee is what gives you that perfectly clean, dry surface. Start at the back and pull everything—dirty water, loosened grime, all of it—toward you and into the grease trough. Overlap each pull just a bit to avoid leaving streaks.
The Most Important Final Step: The Grease Trap
Your griddle surface might be gleaming, but you are not done. The grease trap is the final boss of the end-of-day clean, and ignoring it is a massive mistake. A full trap isn't just gross; it's a serious fire hazard that stinks up the kitchen and attracts pests.
Carefully slide out the grease drawer and scrape every last bit of gunk into a designated heat-proof bin for disposal. Then, that drawer needs a bath. Take it over to your sinks and give it a thorough wash with hot, soapy water. To really nail this part, you should know the right way to maintain the correct 3 compartment sink temperature to slice through heavy grease.
Dry the trap completely before you put it back. A clean grease trap is the final stamp on a job well done. This daily ritual is the backbone of any serious strategy for cleaning commercial griddle surfaces, ensuring your flat top lasts for years and performs flawlessly every single shift.
Performing a Deep Clean and Re-Seasoning
Even if your daily cleaning game is on point, every commercial griddle eventually hits a wall. That’s when it’s time for a deep clean. Think of it not as a failure, but as a necessary reset—a full-strip restoration that gets rid of stubborn, baked-on carbon and brings your cooking surface back to life.
Following this up with a proper re-seasoning is what keeps your equipment at peak performance for the long haul.
You’ll know it’s time when you see the tell-tale signs. Is food starting to stick, even when you’re using plenty of oil? Are you noticing flaky black bits in your pancakes or hash browns? Does the surface just look dull and patchy, no matter how much you scrub it at the end of the day? Those are all red flags that carbon has built up, messing with heat transfer and tanking your food quality.
While daily maintenance is crucial, the deep clean is a whole different beast. The daily scrape, clean, and dry routine is your first line of defense, but it can't hold back the tide of carbon forever.
This process is your foundation. The better you are at it every day, the longer you can go between these more intense deep cleans.
Stripping the Surface Down to Bare Metal
The whole point of a deep clean is to get rid of everything—we’re talking old seasoning, baked-on grease, and layers of carbon—to get right back to the raw steel. First things first, let the griddle cool down to a manageable temperature, somewhere around 200°F to 250°F. It’s the sweet spot: warm enough to keep gunk soft but not so screaming hot that your cleaning solution evaporates on contact.
Scrape off any big, loose debris to start. Then, bring out the big guns: a heavy-duty, food-safe griddle degreaser. Apply it generously and let the chemical do the heavy lifting. Give it about 5-10 minutes to penetrate all that buildup.
Now, it’s the griddle brick’s time to shine. Drizzle a little oil on the surface to act as a lubricant, then get to scrubbing with firm, even pressure. Always work with the grain of the metal to avoid scratching the surface. You’ll start to see the black carbon lift away, revealing the clean, bare steel underneath.
The Art and Science of Re-Seasoning
Once the surface is stripped and rinsed clean with warm water, you've reached the most critical step: re-seasoning. This is about more than just making the surface non-stick. You're creating a protective barrier that shields the raw steel from rust and builds a durable cooking foundation for months to come.
The magic behind seasoning is a process called polymerization. When you apply a thin layer of oil to the steel and heat it past its smoke point, the fat molecules literally break down and bond with the metal. This creates a hard, slick, plastic-like coating that gives a seasoned griddle its signature black patina.
The number one mistake I see people make is using way too much oil. A thick, heavy coat won't polymerize correctly. Instead, you'll end up with a sticky, gummy mess that ruins food and actually attracts more grime. The key is to apply an incredibly thin, almost invisible layer.
Creating the Perfect Non-Stick Surface
Ready to build that perfect finish? Make sure the griddle is completely clean and bone-dry. Crank the heat to medium-high, somewhere between 350°F and 400°F. Now, pour just a small amount of a high-smoke-point oil—canola, grapeseed, or flaxseed are all great choices—onto the surface.
Take a clean, lint-free cloth and wipe that oil over the entire cooktop. You’re aiming for a micro-thin layer. Seriously, it should look almost dry when you’re done. It's far better to build up multiple thin layers than to try and do it all with one thick one.
Let the griddle heat up until the oil begins to smoke, and let it keep smoking for about 10-15 minutes. That smoke is your signal that polymerization is happening. Once it stops smoking, kill the heat, let the surface cool a bit, and do it all over again.
For a freshly stripped griddle, you’ll want to repeat this process 3 to 5 times. This builds a tough, beautiful, and seriously non-stick surface that will make your life in the kitchen so much easier. If you want a deeper dive, you can learn more about how to season a griddle in our detailed guide. This reset is the best thing you can do for your most valuable piece of kitchen equipment.
Troubleshooting Common Griddle Cleaning Issues
Look, even the most disciplined kitchen crew runs into griddle problems now and then. You might get that annoying tacky surface after a fresh seasoning, battle black spots that just won’t budge, or have a heart-stopping moment when you see rust. It happens.
But don’t sweat it. Most of these headaches come from small, easy-to-fix mistakes in the cleaning or seasoning process. The good news is they're almost always reversible with a little know-how. Let's walk through the most common griddle gripes and how to solve them.
Why Is My Griddle Surface Sticky or Tacky?
This is easily the #1 complaint we hear. You spend all that time stripping and seasoning your flat top, and instead of a slick, non-stick surface, you get a gummy, sticky mess. Frustrating, right? This almost always comes down to a problem with the seasoning, or more specifically, the oil polymerization.
The most likely culprit? You used way too much oil. When you lay it on too thick, the heat can't properly bake that oil into a hardened layer. You’re left with a soft, partially-cooked layer of fat that grabs onto food and just makes a bigger mess.
Another common misstep is not getting the griddle hot enough for long enough. The oil needs to hit its smoke point and stay there for a bit to truly transform into that slick, protective coating we’re all after.
The Quick Fix: To fix a tacky surface, get that griddle fired up to a medium-high heat, somewhere around 350-400°F. Let it heat until that sticky layer starts to smoke—this is what you want. You're basically finishing the job by burning off all that excess, unpolymerized oil. After about 15 minutes of smoking, kill the heat, let it cool down, and wipe away any leftover residue. The surface should feel dramatically smoother.
Tackling Stubborn Black Spots and Carbon Buildup
Ever run into those black patches that feel like they’re part of the steel itself? That’s heavy carbonization—grease and food crud that has been baked on over and over for weeks or even months. It ruins your cooking surface, creates hot spots, and can even flake off into the food. Gross.
These carbon deposits usually form when the daily clean isn't quite cutting it, especially in the zones where you do most of your cooking. Trying to get by with a soft cloth instead of a proper scraper or griddle screen is a fast track to this kind of buildup.
To get rid of these concrete-like spots, you need to bring in the heavy artillery:
- Bring on the Griddle Brick: This is your best friend for this job. Get the surface warm, add a little oil for lubrication, and use a griddle brick or stone to grind away the carbon. Use firm, even pressure and go with the grain of the steel to avoid scratching it up.
- Deploy a Heavy-Duty Degreaser: If the buildup is truly epic, a food-safe commercial degreaser can work wonders. Apply it to the warm surface, let it sit for 5-10 minutes to penetrate the gunk, and then go after it with your griddle brick.
- Re-evaluate Your Tools: Is your bench scraper actually scraping? A dull or flimsy scraper just smears grease around, leaving it behind to turn into carbon. Make sure your tools are sharp, sturdy, and up to the task.
How to Handle Rust on Your Griddle
Seeing those tell-tale orange spots on your steel griddle can be alarming, but it's usually just a surface-level problem caused by one thing: moisture. Rust pops up when the raw steel is exposed to water and air, which simply means your protective layer of seasoning has been worn away or damaged.
This often happens when a griddle isn't dried thoroughly after being cleaned with water. It can also happen if you strip the griddle down to bare metal but then get distracted before you can immediately re-season it. Using the wrong tools, like steel wool or a spatula with sharp corners, can also scratch the seasoning and give moisture a place to get in and start trouble.
Luckily, removing rust is pretty straightforward. Just put down a little cooking oil and use a griddle brick or some fine-grit sandpaper to gently scrub the rusted spots away until you're back to bare metal. Wipe the entire surface clean to get rid of any dust, and then—this is the critical part—you must re-season it immediately. A few fresh layers of seasoning will build back that protective barrier and keep the rust from coming back.
Common Questions About Commercial Griddle Care
No matter how dialed-in your training is, questions always come up on the line. Keeping a high-performance commercial griddle in top shape isn't complicated, but knowing the right answers to common problems is what protects your investment and keeps the kitchen humming.
We hear these questions all the time from seasoned chefs and new hires alike. Think of this as your quick-reference guide for those moments when you're wondering, "Am I about to ruin this expensive piece of equipment?" From cleaning products to sketchy "hacks" you see online, getting it right saves you a world of trouble.
What Is the Best Cleaner for a Commercial Griddle?
The honest answer? It really depends on what you're trying to do. There’s no single magic bullet for cleaning commercial griddle surfaces. The real trick is matching the right tool to the job.
For that daily end-of-shift clean, when the griddle is still warm, you don't need to bring out the heavy artillery. A good food-safe degreaser or even a simple mix of warm water and a bit of vinegar usually does the trick. They cut through the grease from the day's service without being too harsh on the steel.
But when you're staring down a thick layer of baked-on carbon during a deep clean, you need more muscle. That's when a heavy-duty, non-toxic commercial griddle cleaner earns its keep. If you prefer to go chemical-free, nothing beats the pure power of a griddle brick to physically grind that stubborn gunk away.
Important Takeaway: Stay far away from harsh, abrasive chemicals. Things like oven cleaner or anything with chlorine will absolutely destroy your griddle plate. They can create tiny pits and scratches that make food stick, ruin your cooking performance, and will almost certainly void your warranty.
Can I Use Ice to Clean My Commercial Griddle?
We've all seen the videos. Someone throws a scoop of ice on a screaming hot flat top, and a massive cloud of steam erupts. This trick, called "thermal shocking," is a popular shortcut, but it’s one of the riskiest things you can do to your griddle.
Yes, the dramatic temperature drop makes grease and burnt bits pop right off. But it also puts an incredible amount of stress on that thick steel plate.
It's the same reason you don't pour ice water into a hot glass baking dish—it's a recipe for disaster. The rapid contraction of the metal can cause it to warp, or in the worst-case scenario, crack clean through. A warped griddle means uneven heat and burnt food. A cracked griddle means you're buying a new griddle.
The right way—the way manufacturers recommend—is to let the surface cool down to about 300°F and use warm water and the proper tools. It gets the job done right without gambling with a multi-thousand-dollar piece of equipment.
How Often Should I Re-Season My Griddle?
This is a big point of confusion, but the rule of thumb is actually pretty simple. You only need to do a full, strip-it-down-to-the-bare-metal re-seasoning after a serious deep clean has removed the old layer completely. You’d also do it if you see major rust spots, food is sticking all over, or the surface just looks dull and flaky.
For most kitchens, this big project only happens every few months. How often really depends on how hard you run your griddle and how good your daily cleaning game is.
A far better habit is to do a quick "touch-up" season every single day. After your end-of-day clean, get the surface totally dry, crank up the heat for a minute, and apply a paper-thin layer of oil. Wipe it all back off until it just barely shines. This takes maybe 30 seconds but works wonders to maintain that slick, non-stick surface and pushes those big deep cleans much further apart.
At Griddles.com, we know that reliable, easy-to-maintain equipment is the heart of a profitable kitchen. Whether you're building out a food truck or upgrading the line at your diner, we've got the top-tier griddles and the expert advice to help you crush every service. Check out our full lineup of commercial griddles and find the perfect workhorse for your operation.